
How to Create a Signup Form in Salesforce | Web-to-Lead Form
How to Create Web-to-Lead Form in Salesforce: A Handy Guide
Capturing lead data can be considered a form of art. Salesforce web-to-lead forms are an essential tool for marketers that help them gather necessary information about the people visiting their web channels. They function even better when configured correctly and placed strategically on websites.
Through this blog post, let’s understand how to create Salesforce web-to-lead forms and the ways you can use them to benefit your business.
What are Web-to-Lead Forms?
A Salesforce web-to-lead form is basically a process that allows your business to automatically capture data from contact forms on their website directly into their Salesforce CRM systems. This saves a lot of time for the business and organizes lead data automatically.
Let’s now see how to create a signup form in Salesforce.
How to Create a Signup Form in Salesforce in 8 Simple Steps
As with most other functions and features, Salesforce makes it extremely easy to create web-to-lead forms through its interface.
The steps to create a web-to-lead form in Salesforce can be divided into two phases broadly:
- Creating the form
- Setting up the Salesforce connector to start using the form
Let’s get straight into it.
-
Creating Web-to-Lead Forms in Salesforce
In order to start creating web-to-lead forms, you need to first navigate to your Salesforce dashboard and enable this feature. Follow the steps below:
- Navigate to Salesforce Setup
- Find the Marketing tab
- Locate the Web-to-Lead option and enable it
- If you want, you set the default Lead Owner
- You can also enable reCAPTCHA verifications
You can now begin creating your form by clicking on the Create New Form option. There is the option to use a pre-existing template and build on top of it or to create your form from scratch. You would need to provide the following information to create the form:
- The fields you want to display on the form, for example, name, company, designation, email ID, etc.
- The return URL
- Additional reCAPTCHA settings
Adding Salesforce Connector
Save your form after adding these details and proceed to explore the additional web-to-lead options on the processing and notifications page. You can also configure your form for the following options:
- Save and resume
- Preview responses
- “Thank you” page redirects
- Email notifications
- Automatic responders
If you need these features later, you can come back to these options and enable them. After you are convinced that all the required fields are configured, you can proceed to the Connector page.
On the left sidebar, locate the Configure drop-down and click on the Connectors option. This step is an important one because it will determine where the lead form will be submitted to. Then, follow the steps detailed below:
- After you have customized your web to lead form, you will see a Form Submitted step. Here, you will notice a Configure option with Add Connector for Form Submission. Click on it.
- Salesforce provides you with a Single Sign On option to authenticate the Salesforce connector. You can use this method or also do this manually by entering your Salesforce username, password, and security token. You need to click on the “Check” button after entering all this information. Once done, click on Enable to add the connector to the form.
- You must now create new lead records by choosing Select Your First Object. You will see drop-down menus that allow you to customize the records.
- In the next step, you would be required to determine how you wish for this data to be stored in your Salesforce database. This is done by mapping the fields to the form fields specified earlier. For example, the company name field in the form would need to be mapped to the company name field in Salesforce.
- Once the mapping is complete, proceed to save your connector. The connector setup is now done.
- You can now proceed to publish your form to test whether everything is working fine. You can fill out the form you created and submit it to see the data reflected in your Salesforce console. This is the right time to check whether all the data has been correctly mapped and stored.
What Information Does Salesforce Web to Lead Form Capture?
Salesforce web-to-lead forms are extremely handy for businesses as they help capture important information about their leads in an efficient manner. Essentially, you can get them to capture any information about your leads that is relevant to your business.
Listed below are some examples of the fields you can request your leads to fill in:
- Address
- City
- Company
- Annual revenue
- Country
- Name
- Phone number
- Salutation
- URL
- State/province
- Website
There is a long list of information you can capture using web-to-lead in Salesforce. If you don’t find the fields you wish to capture in the list, you can create custom fields as well.
When to Use Salesforce Web-to-Lead Forms?
Contrary to popular belief that web-to-lead forms are only used for information capture, you can actually leverage these forms for quite a few other purposes as well:
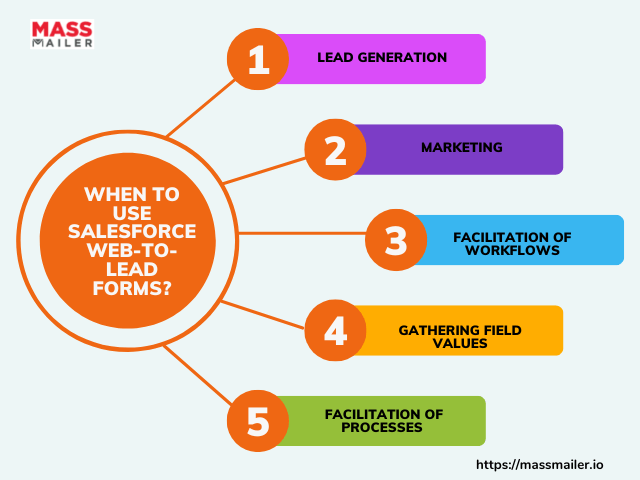
1. Lead Generation
Strategically placing Salesforce web-to-lead forms across your landing pages or websites can help you generate more leads.
2. Marketing
These forms can be effectively used for marketing purposes as well. For example, if one of the goals of your business is to get your prospects to download your whitepaper or eBook, you can attach a web-to-lead form to the process and gather lead data.
3. Facilitation of Workflows and Processes
Some businesses have complex workflows and processes that are dependent on existing web-to-lead forms. In the situation that these forms are difficult to import into new systems, businesses augment their workflows with new web-to-lead forms.
4. Gathering Field Values
If you need to gather field values from disparate sources (leads, accounts, opportunities, or custom objects), the Salesforce web-to-lead forms make it easier to map the fields to respective attributes on the Salesforce system.
Wrapping Up
Prospecting is definitely difficult, but it doesn’t have to be inefficient. With Salesforce web-to-lead forms, you can streamline your lead data-gathering process significantly and benefit from better insight into your customers.
For that matter, lead data capturing can also happen via bulk emails if you append contact forms that fetch you the data you need. You can leverage MassMailer to set up bulk emails through Salesforce and truly capitalize on the lead capture features.
To know more about MassMailer, get on a free trial.