


The MassMailer Blog
Expert insights on Salesforce email marketing, integrations, and automation

- ALL
- Salesforce Email Marketing
- Salesforce Email Deliverability
- Salesforce Email Verification
- Salesforce Email Attachments
- Salesforce Email Alerts
- Alternatives
- Comparisons
- MassMailer Tips & Tutorials
- Salesforce Email Integration
- MassMailer Success Stories
- Salesforce Marketing & Automation
- Salesforce Data & Contact Management
- Email Deliverability & Tracking
- Email Authentication & Security
- Salesforce AppExchange
- Salesforce Email Compliance
- Email Analytics
- Salesforce Product Features
- Salesforce UI/UX
- Salesforce / File Management
- Salesforce Lead Generation
- Salesforce Email Analytics
Salesforce Email Analytics
June 19, 2026
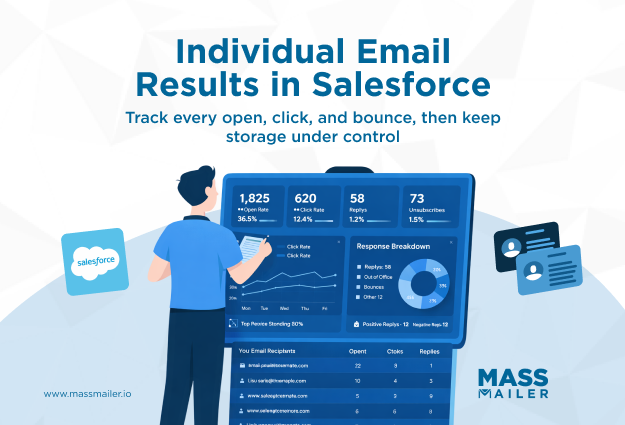
Individual Email Results in Salesforce: See Who Actually Opened Your Emails
Salesforce Data & Contact Management
June 18, 2026
Salesforce Duplicate Rules That Catch Dupes, Not Valid Records
Salesforce Data & Contact Management
June 18, 2026
One Contact, Many Accounts: Mastering the Salesforce Account and Contact Relationship
Salesforce Data & Contact Management
June 18, 2026
Salesforce Merge Contacts: Step-by-Step Instructions and Common Fixes
Salesforce Data & Contact Management
June 1, 2026
Salesforce Import Data: How to Import, Clean, and Email Your List
Salesforce / File Management
June 1, 2026
Salesforce File Size Limit: Why Your Files Fail and How to Fix It
Salesforce Lead Generation
May 30, 2026
How to Create a Salesforce Web-to-Lead Form That Actually Works at Scale
Salesforce Email Marketing
May 30, 2026
Mass Email in Salesforce: What Works, What Doesn’t, and How to Fix It
Salesforce Marketing & Automation
May 30, 2026
Salesforce Flow Builder: The Guide That Doesn’t Skip the Hard Parts
Salesforce Email Deliverability
May 29, 2026
Salesforce Email Deliverability Trends Every Team Must Know
Salesforce Marketing & Automation
May 26, 2026
Salesforce Workflow: The Admin’s Guide to Flow Builder, Email Alerts, and Migration (2026)
Email Analytics
May 26, 2026
How to Create a Report in Salesforce That Actually Helps Your Email Campaigns
Salesforce Email Integration
May 21, 2026
Salesforce Microsoft 365 Integration: The Setup Guide Most Admins Get Wrong
Salesforce Data & Contact Management
May 21, 2026
Salesforce Contact Management: Best Practices to Organize CRM Data at Scale
Salesforce Data & Contact Management
May 19, 2026