What Is a MassMailer Sandbox Plan? Why Do You Need it
When it comes to the software development process, testing is one of the most important elements to take care of before you push your latest release to production.

Therefore, whenever a new software feature is introduced or changed, it needs to be tested thoroughly before it’s released to production. While it is quite an exciting phase, it needs to be approached in the right way.
This is where the Sandbox environment comes in.
Sandbox environments allow developers to simulate new IT setups and upgrades for their enterprises. Put simply, software developers can use sandboxing to simulate a virtual computer and run/test their software application without having to worry about these tests affecting network components or adjacent programs.
In this post, we will discuss more about what a sandbox environment is, what a sandbox plan for MassMailer is, how it works, why you need it, and how to set up MassMailer in the Salesforce Sandbox.
What Is a Sandbox?
A sandbox environment refers to a virtual space in which computer code is executed in isolation without having any effect on the surrounding network or its applications.
A Salesforce Sandbox, in particular, refers to a test environment that offers you a specific solution to copy and create metadata from your production instance.
Salesforce provides organizations with sandboxes mainly to create a copy of Salesforce.org in an exclusive environment where the developers can perform development, app performance, training, and testing without affecting regular enterprise operations.
What is important to note, however, is that sandbox is a separate environment that allows you to conveniently test with data (Salesforce records), including Leads, Accounts, and Contacts.
Put simply, a sandbox test environment is considered a best practice to configure and test before making any live changes. This kind of testing ensures that any development doesn’t disrupt your live environment and is rolled out only after thorough testing.
What Is the MassMailer Sandbox Plan? Why Is It Important?
MassMailer Sandbox plan is an approach for sandboxing in MassMailer. It allows you room to release cycle testing, customize your app for upgrades, and any other operation that needs to be checked before launching it.
One of the key reasons to use the Sandbox plan for MassMailer is to keep the production environments separate and exclusive for apps that have been tested and vetted as compatible with your enterprise environments.
MassMailer regularly rolls out upgrades and new features, making it necessary to test and tweak necessary before connecting them with your enterprise apps. Therefore, it is essential to take a MassMailer Sandbox plan if you are doing any custom work on top of Salesforce.
For instance, any kind of upgrades, release cycle testing, etc., requires a Sandbox plan.
Installing a Sandbox plan for MassMailer allows your organization to ensure that all the latest updates from MassMailer are working well in sync with your enterprise systems. In case they are not, the developers from your IT teams can work with the new SendGrid credentials to make the required changes.
How to Set up a Sandbox Plan For MassMailer?
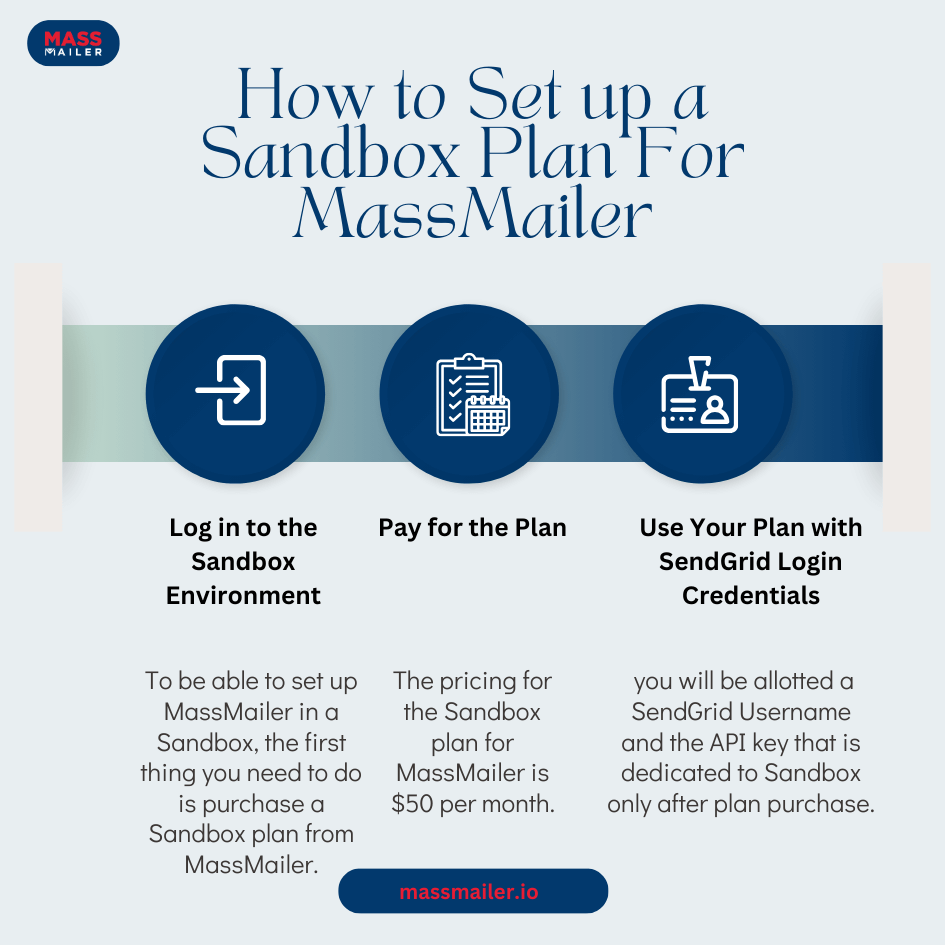
It is quite simple to set up MassMailer in a Sandbox. Here are the steps you need to follow to set up a MassMailer Sandbox plan:
1. Log in to the Sandbox Environment
To be able to set up MassMailer in a Sandbox, the first thing you need to do is purchase a Sandbox plan from MassMailer.
2. Pay for the Plan
The pricing for the Sandbox plan for MassMailer is $50 per month.
3. Use Your Plan with SendGrid Login Credentials
Once you complete the purchase for a sandbox plan, you will be allotted a SendGrid Username and the API key that is dedicated to Sandbox only.
What is important to keep in mind here is that you should never use your production SendGrid credentials in Sandbox.

How Does the Login Setup for MassMailer Work in Sandbox?
Here is how you can set up a Sandbox plan in MassMailer:
Login Set Up
To be able to set up the credentials on MassMailer, you need to go to
Setup > Account Settings > Login
Tracking Set Up
Here is how you can set up tracking settings in Sandbox:
a. The first thing you need to do is to update the Event Notification URL by going to
MassMailer Setup > Tracking Settings.
b. You can find the correct URL by going to
Salesforce Setup > Sites > MassMailer_Site
Example:
c. The next step here is to update the Event Webhook in SendGrid by going to
SendGrid > Settings > Mail Settings > Event Webhook
Example:
d. Once done, update Subscription Tracking Settings followed by updating Email Preference Groups
Finish Set Up Massmailer in Sandbox
Click on the Finish button by going to MassMailer Setup > Finis
In Conclusion
Sandbox environments are quite useful to make effective software testing possible. Apart from protecting your systems from any issues or glitches in your program, they’re also easy to create with a virtual machine, thus resulting in better products and satisfied users.
In this post, we have discussed all about the MassMailer sandbox plan and how you can set it up the same. Z1
The key purpose of using a sandbox plan in MassMailer is to offer a testing environment that replicates the production environment but is separate from an enterprise’s other resources. This allows developers to identify any issues with testing and confine them to the sandbox only so they won’t impact other critical systems.
When the sandbox code in the MassMailer sandbox plan is fully tested, it can then be deployed to production to make it easily accessible to end-users.
About MassMailer
MassMailer is a powerful email marketing solution provider that offers enterprises an easy way to improve their outreach to customers using bulk emails.
Being a Salesforce native, the MassMailer app can be easily integrated within your Salesforce org environment and accessed from the same dashboard.
