
Table of Contents
You've got 500 leads sitting in Salesforce, a product launch going out Tuesday, and one email that needs to reach every single one of them, personalized with their name and company, tracked so sales knows who opened it, and scheduled to land at 9 AM in the recipient's timezone.
You hit send using Salesforce's native List Email tool, and half your list doesn't go out because you crossed the daily sending cap for your edition. The other half? No idea if anyone opened it, because native mass email in Salesforce doesn't track opens or clicks. And there's no way to trigger that send automatically from a flow, so someone on your team has to remember to do it manually every single time.
This guide breaks down exactly where those limits hit, what each Salesforce edition actually allows, and how to set up automated mass email sends from list views using Flow Builder so your team stops losing campaigns to manual steps and invisible ceilings.
What Is Mass Email in Salesforce?
Mass email in Salesforce is a feature that sends an individual copy of the same email to a group of leads, contacts, or person accounts. Each recipient gets their own personalized copy with merge fields pulled from their record, so it's not a group email where everyone sees each other's address.
Salesforce offers this feature under two different names, depending on your interface:
- In Salesforce Classic, it's called Mass Email. You access it through the Mass Email Contacts or Mass Email Leads links under each object tab.
- In Lightning Experience, Salesforce renamed it to List Email. You trigger it from any contact or lead list view using the dropdown next to the "New" button.
- If you need to send to Person Accounts, you create a list view on the contact object in Lightning.
This rename matters practically because if you're following a Salesforce Classic guide, the menu labels, navigation, and interface won't match what you see in Lightning. The List Email version also lets you select individual records from a list view instead of sending to the entire list, which gives you more control over who actually receives the email.
Salesforce Mass Email Limits You Need to Know Before You Send
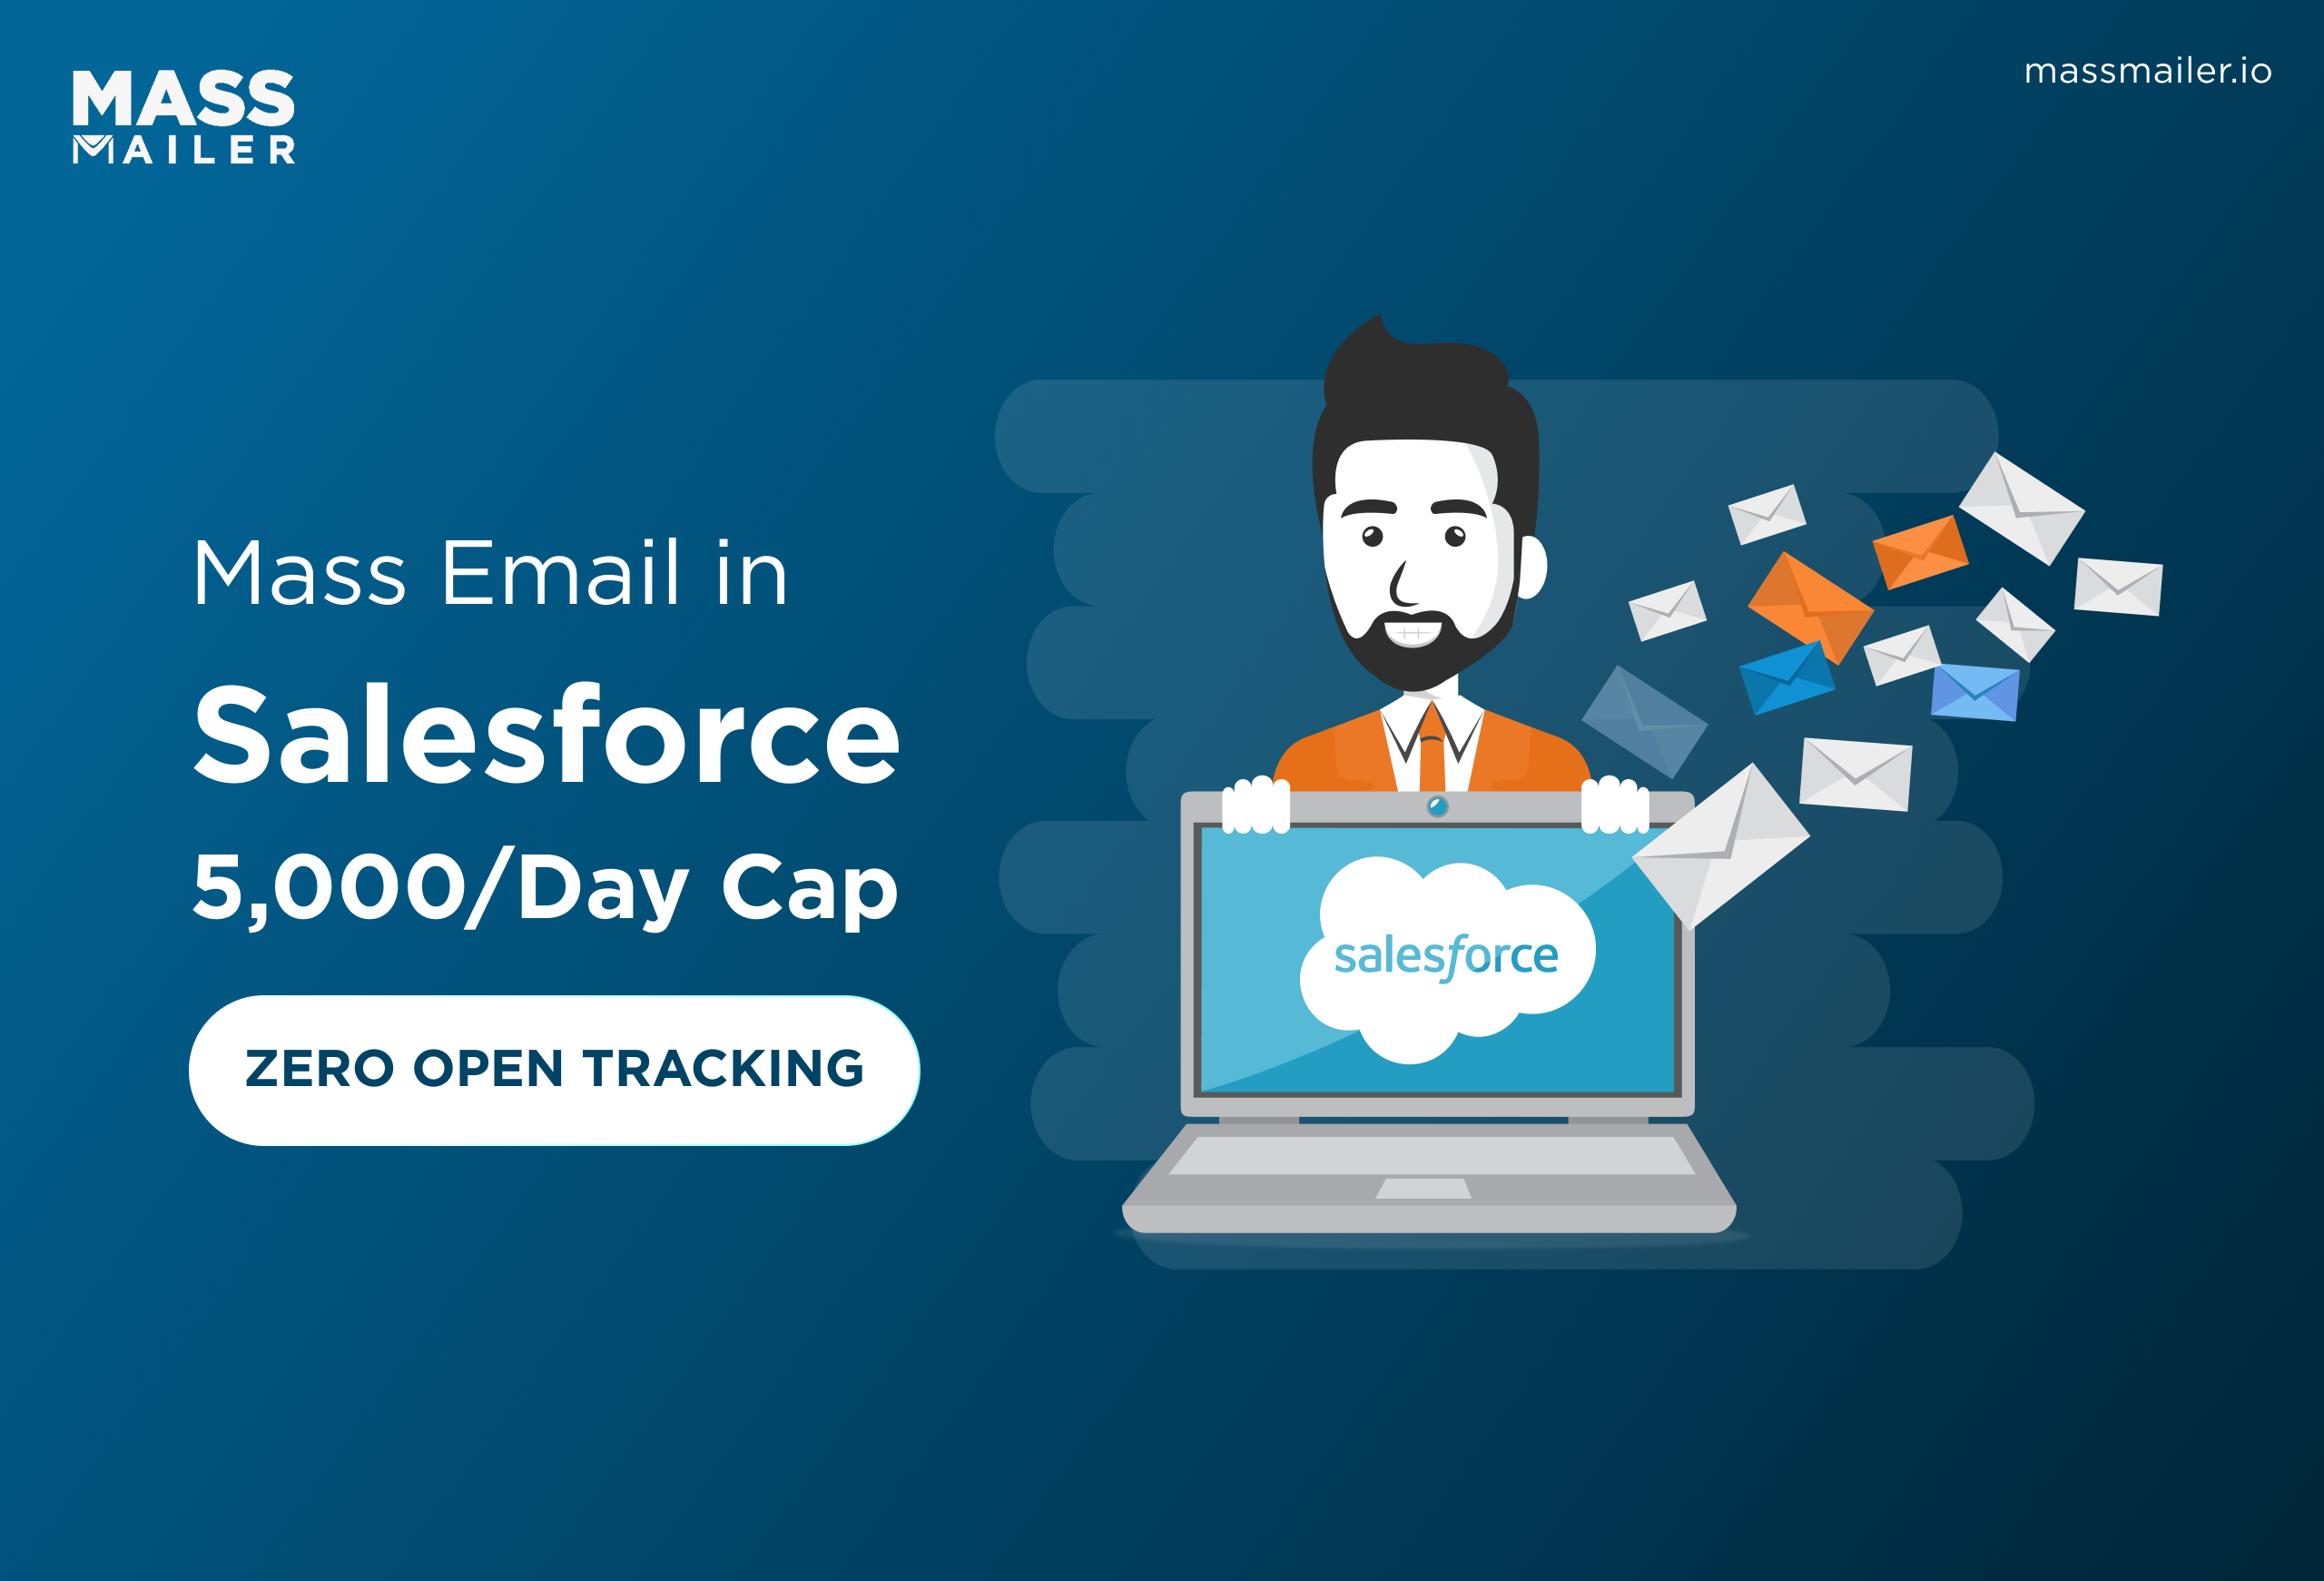
If your org has three reps and a marketing coordinator, all sending list emails on the same day, they're not each getting 5,000 sends. They're sharing one pool. Salesforce caps mass email at 5,000 external recipients per organization per day, and that number stays the same whether you're on Professional, Enterprise, or Unlimited edition.
| Limit | Details |
|---|---|
| Daily mass email cap | 5,000 external recipients per org per day |
| List Email batch size (Lightning) | 500 recipients using "Select All," 200 if manually selecting |
| MassEmailMessage API | 250 target object IDs per call, 10 sendEmail() invocations per transaction |
| Single email cap | 5,000 per user per day (separate from mass email) |
| Developer/Sandbox orgs | 15 emails per day |
Internal emails to licensed Salesforce users don't count against this cap, but test emails to external addresses do. Five test runs of a 200-person list burn 1,000 sends before your real campaign even starts. These numbers also change based on email type since workflow emails, Apex triggers, and single sends all pull from their ownSalesforce email limits alongside the mass email cap.
The native List Email tool doesn't track opens or clicks. Salesforce tells you the emails went out, but you won't know who actually read them.
Classic mass email has no scheduling. Lightning List Email lets you pick a date and time, but you can't trigger a send from a flow or fire it automatically when a field changes. Someone on your team has to set up every send by hand.
Once you're running weekly campaigns across multiple segments and sales need to know who opened what before their follow-up calls, the native Salesforce mass email tool stops giving you enough to work with.
How to Send a List Email in Salesforce
List Email is how you send mass emails in Salesforce Lightning. It sends a separate copy to each recipient with merge fields pulling data from their individual record. Here's how to set it up from a contact or lead list view.
Before you start, make sure your Salesforce admin has enabled the "Send List Email" permission in your user profile or permission set. If this isn't turned on, the List Email button won't appear in your list view dropdown, and you'll waste time looking for it.
Step 1: Create or select a list view
Go to the Contacts or Leads tab and pick an existing list view or create a new one with filters that match your audience. Switch away from "Recently Viewed" before you do anything else. If you skip this, you'll only be emailing the last handful of records you happened to look at, not your full filtered list.
Step 2: Select your recipients
Click "Select All" to include up to 500 recipients from the filtered view, or manually check individual records up to 200. If your audience is larger than 500, you need to run multiple sends since Salesforce won't let you batch beyond that in a single List Email.
Step 3: Open the List Email composer
Click the dropdown arrow next to the "New" button at the top of the list view and select "Send List Email." If you don't see this option, go back and confirm the permission from the setup step above.
Step 4: Build or choose your email
You can write directly in the composer or pick a saved Lightning email template. To personalize, click the merge field button { } in the toolbar and select fields like Recipient First Name or Company. Don't type merge field syntax manually because Classic templates use {!Contact.FirstName} while Lightning templates use a different format, and mixing them up causes blank fields in your sent emails.
Step 5: Preview and send
Click "Review" to see how the email looks with merge fields filled in. If something shows as blank in the preview, the merge field is either mapped incorrectly or the recipient's record is missing that data. Once everything checks out, either send immediately or schedule it for a specific date and time.
One thing to note: if you schedule a List Email and someone gets added to the list view after you schedule it, they'll still receive the email. And if someone drops off the list before the scheduled time, they won't get it. Salesforce evaluates the list view membership at send time, not at schedule time.
To send a mass email to person accounts, create your list view on the contact object, not the account object. Salesforce treats person accounts as contacts for List Email purposes.
What Standard List Email Can't Do (And Where Teams Get Stuck)
Standard List Email in Salesforce doesn't support flow-based triggers, won't send to custom objects, limits you to one template per send, has no built-in sequences, and gives you no recipient behavior data to act on. Here's what each of those gaps looks like in practice.
No flow or automation support. If you want to send a bulk email every Monday to all leads that moved to "Qualified" last week, someone has to open the list view, select recipients, pick a template, and hit send manually. Flow Builder has no native action for triggering a List Email.
Custom objects are excluded. Native List Email only works with contacts, leads, and person accounts. Teams that track recipients on custom objects like Applications or Event Registrations have to export those records and match them to contacts before they can send.
One template per send, no segment logic. You can't send Template A to leads in finance and Template B to leads in healthcare in a single List Email. Splitting by segment means running separate sends, which eats into your daily cap faster.
No multi-step sequences. Every follow-up requires a fresh manual send. There's no native way to automatically send a second email three days after the first or stop a sequence when a recipient replies.
Recipient behavior stays invisible. Without open or click data flowing back into Salesforce, you can't auto-create a task when a lead reads your email or move a contact into a different campaign based on a link click. Theemail activity records that would power those workflows don't get created by the standard Salesforce mass email tool.
How to Automate Mass Email in Salesforce Using Flow Builder
Native Salesforce doesn't let you trigger mass email sends from Flow Builder. Most teams that hit this wall try workarounds first, like writing custom code to handle the sends or chaining older automation tools like Process Builder to approximate a scheduled email.
Both can work short-term, but custom code needs maintenance every time Salesforce pushes an update, and Salesforce is retiring Process Builder in favor of Flow Builder anyway.
The simpler option is a Salesforce-native app that gives Flow Builder a ready-made action for sending mass emails. MassMailer provides one called "Email via MassMailer" that connects your flow to a list view and an email template, so the send fires on schedule or on trigger with zero manual steps.
Step 1: Build your list view
Go to Contacts, Leads, or whichever object holds your recipients. Create a list view with the filters that define your audience, like all leads where Status equals "Qualified," and State equals "California." Save it and note the API name from the details panel.
You'll need this in Step 3.
Step 2: Create your flow in Flow Builder
Go to Setup, search for Flows under Process Automation, and click New Flow. Choose the flow type based on when you want the send to happen:
- Schedule-Triggered Flow if you want emails going out on a recurring schedule (every Monday, first of the month, etc.)
- Record-Triggered Flow if you want a send to fire when a specific field changes (like a lead moving to a new lifecycle stage)
- Autolaunched Flow, if you want to call it from another process or trigger it via API
Most teams sending mass emails on a recurring basis start with a schedule-triggered flow because it requires the least setup and runs independently. Record-triggered flows work better when your sends need to react to real-time pipeline changes, like a lead hitting a new stage or a deal closing, which is whereSalesforce workflow automation starts doing the heavy lifting over manual sends.
Step 3: Add the MassMailer Apex Action
Inside your flow, add an Action element and search for "Email via MassMailer." This is the invocable Apex class that handles the actual send. Configure these parameters:
| Parameter | What to enter |
|---|---|
| From Address | The sender's email address that your recipients will see |
| From Name | The sender name (your company or team name) |
| Salesforce List View API Name | The API name from Step 1 |
| Template ID | The Salesforce ID of the email template you want to use |
| Record ID | A hard-coded record ID from your target object (this sets context for merge fields, but doesn't limit which recipients get the email) |
Only fill in either the Salesforce List View API Name or the MassMailer List View API Name field. Filling in both causes an error. If you're using a standard Salesforce list view, use the Salesforce field.
Step 4: Test in debug mode
Run the flow in Flow Builder's debug mode before activating. This simulates the full process without sending emails. During the test, verify three things: the flow triggers at the right condition, the template ID resolves to the correct template, and the list view API name returns the expected set of recipients.
If merge fields show blank in your test output, the Record ID is either missing or pointing to the wrong object.
Step 5: Activate and set the schedule
Once your test passes, activate the flow. If you chose a schedule-triggered flow, set the frequency and time. Salesforce evaluates the list view at send time, pulls the current recipients who match your filters, and sends personalized emails through MassMailer's sending infrastructure.
For teams that need to layer additional logic on top of this workflow, like routing different templates based on lead source or pausing sends when a contact converts, the same Flow Builder setup supports branching and decision elements before the Apex Action fires. That's whereSalesforce marketing automation starts to replace what most teams try to do manually with segmented list views and multiple sends.
Native Salesforce List Email vs. MassMailer: What's Actually Different
Native List Email handles occasional, small-scale sends where tracking and automation aren't required. MassMailer is built for teams that need higher volume, engagement tracking, and flow-based automation without leaving Salesforce.
| Capability | Native List Email | MassMailer |
|---|---|---|
| Daily sending limit | 5,000 per org | No cap on volume |
| Open and click tracking | No | Yes, logged to Activity History per recipient |
| Send scheduling | Lightning only, manual setup | Schedule from Flow Builder or set recurring sends |
| Flow Builder integration | Not supported | Invocable Apex Action available for any flow type |
| Custom object support | Contacts, leads, and person accounts only | Any standard or custom object |
| Multi-step drip sequences | Not supported | Supported via Flow Builder + campaign triggers |
| Template personalization | Merge fields from the recipient record | Merge fields from any related object |
| Bounce handling | No visibility | Automatic bounce detection and status logging |
| Segment-based sends | One template per list, separate sends per segment | Filter by any field across objects in a single campaign |
| Email verification | Not available | Built-in verification before sending |
Native List Email is free and already in your org. If your team sends fewer than 1,000 emails a month and doesn't need engagement data, it gets the job done without adding another tool. The gap shows up when volume increases, when sales need to know who opened what before follow-ups, or when sends need to fire automatically based on pipeline changes.
MassMailer logs every send, open, click, bounce, and unsubscribe directly on the recipient's record in Salesforce. That keeps yourSalesforce email report data inside the CRM, where both marketing and sales teams can access it without switching platforms.
Conclusion
If the comparison table above describes your team's situation, the Flow Builder setup covered in this guide is a two-hour project. The list view, the flow, the Apex Action, and the template are all you need to move from manual sends to scheduled, tracked campaigns running inside Salesforce.
MassMailer handles the sending, engagement tracking, and the connection between your flow and your recipients without adding an external platform to manage.
If you want to see how the automation setup from this guide runs inside your actual org with your own list views and templates,book a 30-minute walkthrough with the MassMailer team.
Frequently Asked Questions
1. Can you send a mass email to a Salesforce campaign?
2. Does Salesforce mass email support file attachments?
3. Is Salesforce mass email the same as Marketing Cloud?
4. Do mass emails and single emails share the same daily limit?
5. Can you use Visualforce templates with mass email?
6. How do you check the status of a scheduled mass email?
Start Your Free Trial Today
Experience MassMailer the easiest way to send personalized emails from Salesforce.
Related Blogs
MassMailer Resources


MassMailer Glossary
About the Author

Siva Devaki 

Siva Devaki is the founder of MassMailer Inc., a tool that helps Salesforce users optimize email marketing. A passionate advocate for email marketing, Siva writes and hosts podcasts on the topic, sharing insights to help businesses drive revenue and enhance customer engagement through Salesforce email automation and tracking.