


Table of Contents
What happens inside Salesforce Flow Builder when you pick the wrong flow type or hit a governor limit mid-run? Your automation just stops. No clear error, no rollback. Just a failed transaction and a confused team.
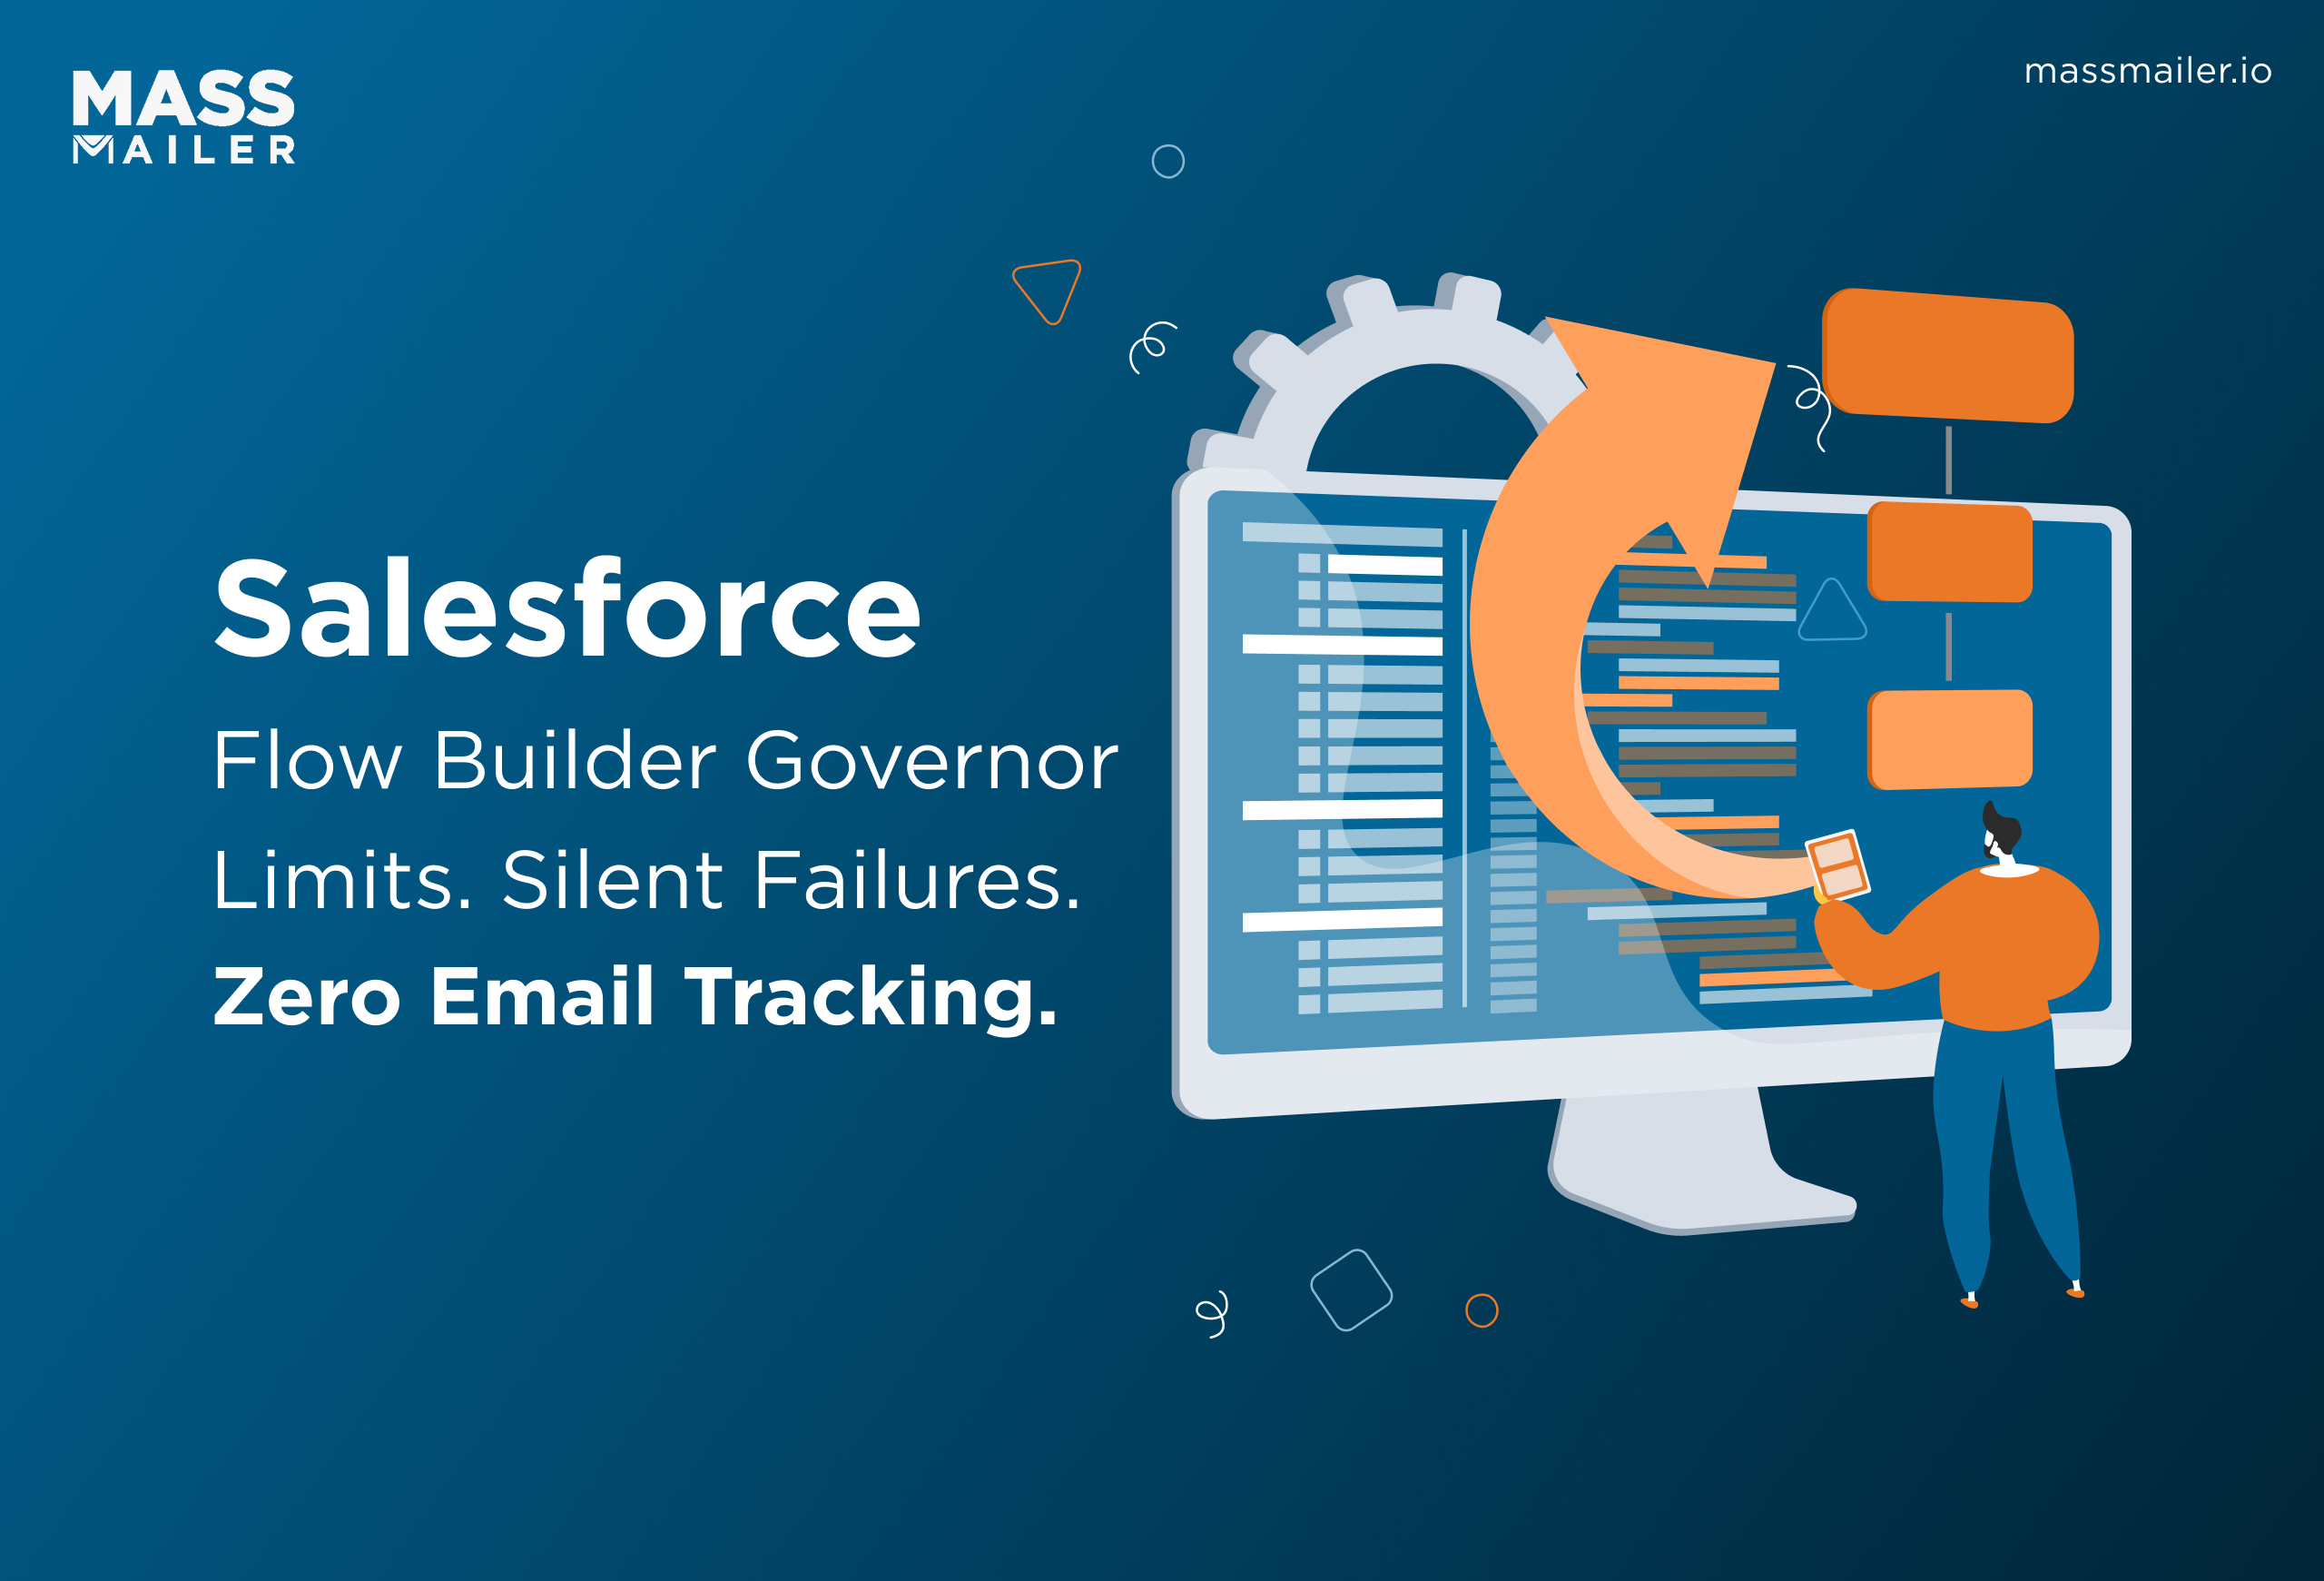
Salesforce retired Process Builder and Workflow Rules. Flow Builder is now the only option. So every automation you build, fix, or migrate runs through it. That raises the stakes.
But Flow Builder has sharp edges. Pick the wrong trigger, and your flow fires twice. Put a record update inside a loop, and you'll hit the 150 DML limit before the flow finishes. Try sending emails natively, and you get zero open or click tracking.
We break down the five flow types, how to build a flow from scratch, the governor limit that catches most teams off guard, and where native email actions fall short.
Process Builder Is Dead: What That Means for Your Org
Salesforce stopped supporting Process Builder and Workflow Rules in 2023. As of 2025, you can no longer create new ones. Existing automations still run. But Salesforce is not fixing bugs or pushing updates for them. Flow Builder is the only supported path forward.
The real risk is running both tools on the same object
Most migration problems don't come from Flow Builder itself. They come from running Process Builder and Flow Builder side by side on the same object. Both tools trigger on record changes. But they execute at different points in the Salesforce save cycle. So you end up with duplicate field updates, skipped criteria evaluations, and flows that fire when they shouldn't.
This is why migrating one object at a time matters. Deactivate the Process Builder version before you activate the flow. Never run both simultaneously.
How to find what needs migrating
Go to Setup, then Process Automation, then Process Builder. Every active automation shows up there. Sort them by object. The ones with multiple criteria nodes, invocable Apex calls, or cross-object field updates need manual rebuilds.
Salesforce offers a Migrate to Flow tool for simpler automations. It works for single-criterion processes. But it silently skips scheduled actions. If your Process Builder has a "wait" step that sends an email three days after a field change, the migration tool won't convert it. You need to rebuild that as a Scheduled-Triggered Flow separately.
Audit before you migrate
Check how many automations exist per object. If one object has three Process Builder automations and two record-triggered flows already running, consolidate them into a single flow first. Stacking multiple automations on the same object and trigger is the fastest way to hit unexpected behavior after migration.
The Five Flow Types in Salesforce Flow Builder (and When to Use Each)
Salesforce Flow Builder gives you five flow types. Each one responds to a different trigger. Picking the wrong type is one of the most common reasons flows fail or fire unexpectedly.
1. Record-Triggered Flow
This is the flow type you'll use most. It runs automatically when a record is created, updated, or deleted. You set entry conditions to control which records qualify.
A common example is: auto-assigning a lead owner when the lead source changes to "Partner Referral." Or updating a parent account field whenever a child contact record changes.
One detail most tutorials skip. Salesforce lets you run record-triggered flows "before save" or "after save." Before-save flows modify the record in memory. They skip DML operations entirely. That means they're faster and don't count against governor limits. Whenever you're updating fields on the same record, before-save is the better choice.
2. Screen Flow
Screen flows are the only type that displays a user interface. They collect input, show information, or walk someone through a multi-step process. You can embed them on record pages, community pages, or launch them from quick actions.
Good for guided case creation, internal request forms, or onboarding wizards.
The catch is that screen flows don't support bulk operations. If you need logic that processes hundreds of records at once, a screen flow won't work. It requires a user to click through every step manually.
3. Schedule-Triggered Flow
Schedule-triggered flows run at intervals you define. Daily, weekly, or at a specific time. Salesforce checks your entry conditions at runtime and processes every qualifying record.
Works well for recurring jobs. Flagging contacts who haven't been emailed in 90 days. Sending weekly reminders on stale opportunities. Cleaning up records that meet certain age criteria.
Keep in mind that these flows only run at the intervals you set. If you need something to happen the moment a field changes, a record-triggered flow is the right choice.
4. Autolaunched Flow (No Trigger)
Autolaunched flows don't fire on their own. Other processes call them. You can invoke them from Apex, other flows, REST API calls, or platform events.
The main reason to build one: reusable logic. Say three different record-triggered flows all need to run the same validation and assignment steps. Build that logic once in an autolaunched flow. Call it from each one. Now you maintain it in a single place instead of three.
Without another process calling it, an autolaunched flow just sits there. It never runs on its own.
5. Platform Event-Triggered Flow
Platform event-triggered flows listen for messages that external systems or Apex code publish to Salesforce. They're built for cross-system integration.
A practical example is: your payment processor sends a "payment received" event to Salesforce. This flow picks it up and updates the related opportunity stage automatically.
Most orgs don't need this flow type. Setting up platform events requires developer involvement. But if your architecture already publishes events from external systems, this flow type reacts to them without custom Apex.
Quick comparison
| Flow Type | Trigger | Best For | Needs a User |
|---|---|---|---|
| Record-Triggered | Record create/update/delete | Field updates, owner assignment, alerts | No |
| Screen | User clicks a button or link | Guided forms, wizards, and data collection | Yes |
| Schedule-Triggered | Time-based schedule | Recurring cleanup, periodic reminders | No |
| Autolaunched | Called by another process | Shared reusable logic across flows | No |
| Platform Event-Triggered | External or Apex event | Cross-system integrations | No |
How to Create a Flow in Salesforce: Step by Step
Here's a complete walkthrough. We'll build a record-triggered flow that auto-creates a follow-up task every time an opportunity moves to "Closed Won."
Step 1: Open Flow Builder
Go to Setup. Search for "Flows" under Process Automation. Click New Flow. Salesforce asks you to pick a flow type. Select Record-Triggered Flow.

Step 2: Set the trigger
Choose Opportunity as the object. Set the trigger to run when a record is updated. Under entry conditions, add this filter: StageName equals "Closed Won." Set it to run only when the condition changes from false to true. This prevents the flow from firing every time someone edits the opportunity after it's already closed.

That last setting matters. Without it, any edit to a closed opportunity re-triggers the flow. That's how teams end up with duplicate tasks they can't explain.
Step 3: Choose before-save or after-save
Since we're creating a new task record, not just updating a field on the opportunity, we need an after-save flow. Before-save flows can only modify the record that triggered them. Creating related records requires an after-save.
Select "Run Asynchronously" if the task creation doesn't need to happen in the same transaction. This reduces the chance of hitting governor limits when other automations run on the same object.
Step 4: Add a Create Records element
On the canvas, add a Create Records element. Set the object to Task. For the subject, pull the opportunity name dynamically so each task is easy to identify. Set Related To as the Opportunity ID from the triggering record. Assign it to the Opportunity Owner.
For the due date, create a formula resource. Go to the Resource panel, click New Resource, choose Formula, set the data type to Date, and enter "TODAY() + 5". This gives the task owner five days to follow up. If you need business days instead of calendar days, you'll need a custom formula that accounts for weekends.
Step 5: Activate and test
Save the flow. Click Activate. Test it in the sandbox first. Open any opportunity and change the stage to Closed Won. Check the activity timeline on that record. A new task should appear with the subject, assignee, and due date you configured.
If nothing happens, check two things.
First, confirm the entry conditions match exactly. Second, verify that the running user's profile has create access on the Task object for opportunities. Salesforce won't throw an error if the permission is missing. The flow just silently skips the task creation.
Now try adding an email to this flow
At this point, you might want the flow to also send an email when the deal closes. Flow Builder has a native Send Email action. Add it to the canvas, and it works. The email goes out.
But open the contact record afterward. There's nothing there. No open tracking, click tracking, or bounce data. The native action sends the email and forgets about it.
You can fix this with a Salesforce-native email tool that adds an Apex Action directly inside Flow Builder. MassMailer does exactly this. It sends the email through its own infrastructure and logs opens, clicks, and bounces on the contact or lead record. Your flow handles the automation. MassMailer handles the tracking that Flow Builder can't do on its own.
The Governor Limit That Breaks Most Flows (DML Inside Loops)
Salesforce enforces a limit of 150 DML operations per transaction. DML means any action that writes to the database. Creating, updating, deleting, or undeleting a record. If your flow exceeds 150, Salesforce kills the entire transaction. Nothing saves.
How teams hit this limit
It starts with a loop element. Say your flow iterates through 200 contacts and updates a field on each one. If the Update Records element sits inside the loop, every iteration counts as a separate DML call. Two hundred contacts means 200 operations. Salesforce stops at 150.
This flow passes every test. You run it against 5 records in the sandbox, and it works. It only breaks in production when real data volumes hit it.
The fix
Use a collection variable. Instead of updating each record inside the loop, add each modified record to a collection. After the loop ends, place one Update Records element that writes the entire collection in a single DML call.
Loop → assign values → add to collection → exit loop → one update operation.
Other limits that stack in the same transaction
If your flow includes a Get Records element inside a loop, each iteration runs a separate SOQL query. Salesforce caps SOQL queries at 100 per transaction. Move the Get Records element before the loop and store results in a collection instead.
2,000 elements executed per flow interview. Deeply nested loops or multiple subflow calls hit this on large data sets.
These limits apply to the full transaction. If other automations fire on the same object in the same save cycle, their counts stack on top of yours.
Why the Native Send Email Action Falls Short
Flow Builder lets you send emails. But it doesn't let you track them. That's the core problem.
When you add a Send Email action inside a flow, Salesforce sends the email and moves on. It doesn't record whether the recipient opened it or track link clicks. It doesn't log bounces. The email leaves Salesforce, and you never hear about it again.
For internal alerts and notifications, that's fine. For marketing or sales emails, it's a blind spot.
The limits you'll hit at scale
Beyond tracking, Flow Builder email has hard caps that affect how you send.
Salesforce allows a maximum of 10 email alerts per flow interview. If your flow loops through a list and sends an email on each iteration, it stops at 10.
Every flow-triggered email counts toward your org-wide daily limit. On the Enterprise edition, that limit is 1,000 multiplied by the number of user licenses. But here's what catches teams off guard: workflow alerts, Apex emails, auto-replies, and flow emails all share the same daily bucket. A scheduled flow that sends 2,000 emails in the morning can block your transactional alerts for the rest of the day.
The per-transaction cap is 1,000 emails. Even if your daily limit is higher, a single flow transaction cannot exceed this number.
For a full breakdown of every Salesforce email limit by edition, download the Salesforce Email Limits Cheat Sheet.
Deliverability has no safety net
Salesforce recommends keeping your bounce rate below 5% and spam complaints below 0.1%. If you exceed these thresholds, Salesforce throttles or disables sending for your entire org. Not just the flow that caused the problem. Every email from every user stops.
The native Send Email action gives you no way to monitor these numbers inside Salesforce. You only find out when sending breaks.
What this means for your flow design
If your flows send more than a handful of emails per day, or if you need to know whether those emails actually reached the inbox, the native action isn't built for that.
You need a Salesforce-native tool that sends through its own infrastructure and operates outside Salesforce's daily email cap. MassMailer's Apex Action sits inside Flow Builder like any other element. It sends emails through a separate infrastructure, logs opens, clicks, and bounces on the lead or contact record, and doesn't consume your org's daily limit.
Legacy Workflows vs. Flow Builder vs. Flow Builder + MassMailer
Most teams migrating from Process Builder want to know two things. Can the Flow Builder handle their existing automations? And can it handle email at scale? This table answers both.
| Capability | Process Builder / Workflows | Flow Builder (Native) | Flow Builder + MassMailer |
|---|---|---|---|
| Open and click tracking | No | No | Yes |
| Bounce handling | No | No | Yes |
| Email sends count against org's daily limit | Yes | Yes | No |
| Max emails per flow interview | N/A | 10 | No cap |
| Sends to list views | No | No | Yes |
| Unsubscribe link management | No | No | Yes |
| Engagement data on lead/contact record | No | No | Yes |
| Email sending method | Basic alerts only | Send Email action | MassMailer Apex Action |
| Still supported by Salesforce | No | Yes | Yes |
| Handles bulk operations | Poorly | Yes, with collections | Yes, with collections |
| Before-save execution | No | Yes | Yes |
| Requires a separate platform | No | No | No |
The automation rows at the bottom confirm that Flow Builder handles the process side well. The email rows at the top show where it stops. If your flows need to send, track, and manage email at scale, that's the gap the third column fills.
Conclusion
Flow Builder is the only automation tool Salesforce supports going forward. If you're still on Process Builder, migrate now. If you're already using Flow Builder, make sure your flows follow the collection pattern for bulk operations and avoid DML inside loops.
The one area where Flow Builder genuinely falls short is email. No tracking, no bounce handling, shared daily limits, and a 10-alert cap per flow interview. If your automations depend on email, that gap doesn't go away with better flow design.
MassMailer plugs directly into Flow Builder as an Apex Action. It sends emails outside Salesforce's daily limit, tracks engagement on the record, and handles unsubscribes natively.
Start a free trial at massmailer.io or book a demo with the MassMailer team to see how it works inside your flows.
Frequently Asked Questions
1. Can Salesforce Flow Builder replace Apex code?
2. How do you debug a failed flow in Salesforce?
3. Can you call a Salesforce flow from a Lightning component?
4. How do you version control Salesforce flows?
5. What happens when a Salesforce flow fails mid-transaction?
6. Can Salesforce Flow Builder connect to external APIs?
Related Blogs


MassMailer Resources



MassMailer Glossary
About the Author

Siva Devaki 
Siva Devaki is the founder of MassMailer Inc., a tool that helps Salesforce users optimize email marketing. A passionate advocate for email marketing, Siva writes and hosts podcasts on the topic, sharing insights to help businesses drive revenue and enhance customer engagement through Salesforce email automation and tracking.