


Table of Contents
An email deliverability audit traces why your Salesforce emails slip into spam instead of the inbox, then turns each weak point into a fix. Four checks catch most problems before you read the full guide:

- Open a recent campaign in Gmail, click Show original, and confirm SPF, DKIM, and DMARC all say PASS. Any fail is your first fix, and bulk senders to Gmail have to pass all three.
- Pull your spam-complaint rate from Google Postmaster Tools and keep it under 0.3 percent. A rate drifting toward that line predicts a deliverability drop before your open rate moves.
- Run a seed test across Gmail, Outlook, Yahoo, and Apple Mail. Below 90 percent inbox placement points the problem back at authentication, reputation, or your creative.
- Suppress hard bounces after the first failure and re-verify your list quarterly, since lists decay by a quarter to a third every year.
Introduction
Your Salesforce campaign posts strong open rates one month, then quietly slips into spam the next, and nothing in your reports explains why. An email deliverability audit explains it. It traces every message from your Salesforce org to the inbox, then shows where authentication, reputation, or list problems are routing you to spam.
For bulk senders, deliverability decides whether your pipeline emails get read or filtered before anyone sees them. This guide walks the audit step by step: how to check SPF, DKIM, and DMARC, read your sender reputation, monitor blacklists, measure inbox placement, and fix bounces.
It also covers the dedicated-versus-shared IP decision that high-volume Salesforce senders eventually face.
What is an email deliverability audit?
An email deliverability audit is a structured review of everything that decides whether your sent emails reach the inbox or get filtered to spam. It checks your authentication records, sender reputation, blacklist status, list quality, and inbox placement, then turns each weak point into a fix.
The audit answers one question: of the emails your Salesforce org sends, how many actually land where recipients will see them? Delivery and deliverability are not the same number. A message that does not bounce counts as delivered, even when it drops straight into spam. Deliverability measures the harder figure, which is inbox placement.
Most teams run an audit reactively, after open rates fall or a client says your emails went missing. Run it proactively instead. A quarterly audit catches a drifting spam rate or an expiring DKIM key before it costs you a campaign.
If your open rate sits below 30 percent, or hard bounces climb past two percent, audit now rather than next quarter. You do not need a consultant for the first pass. The checks below use free tools and your existing Salesforce reporting.
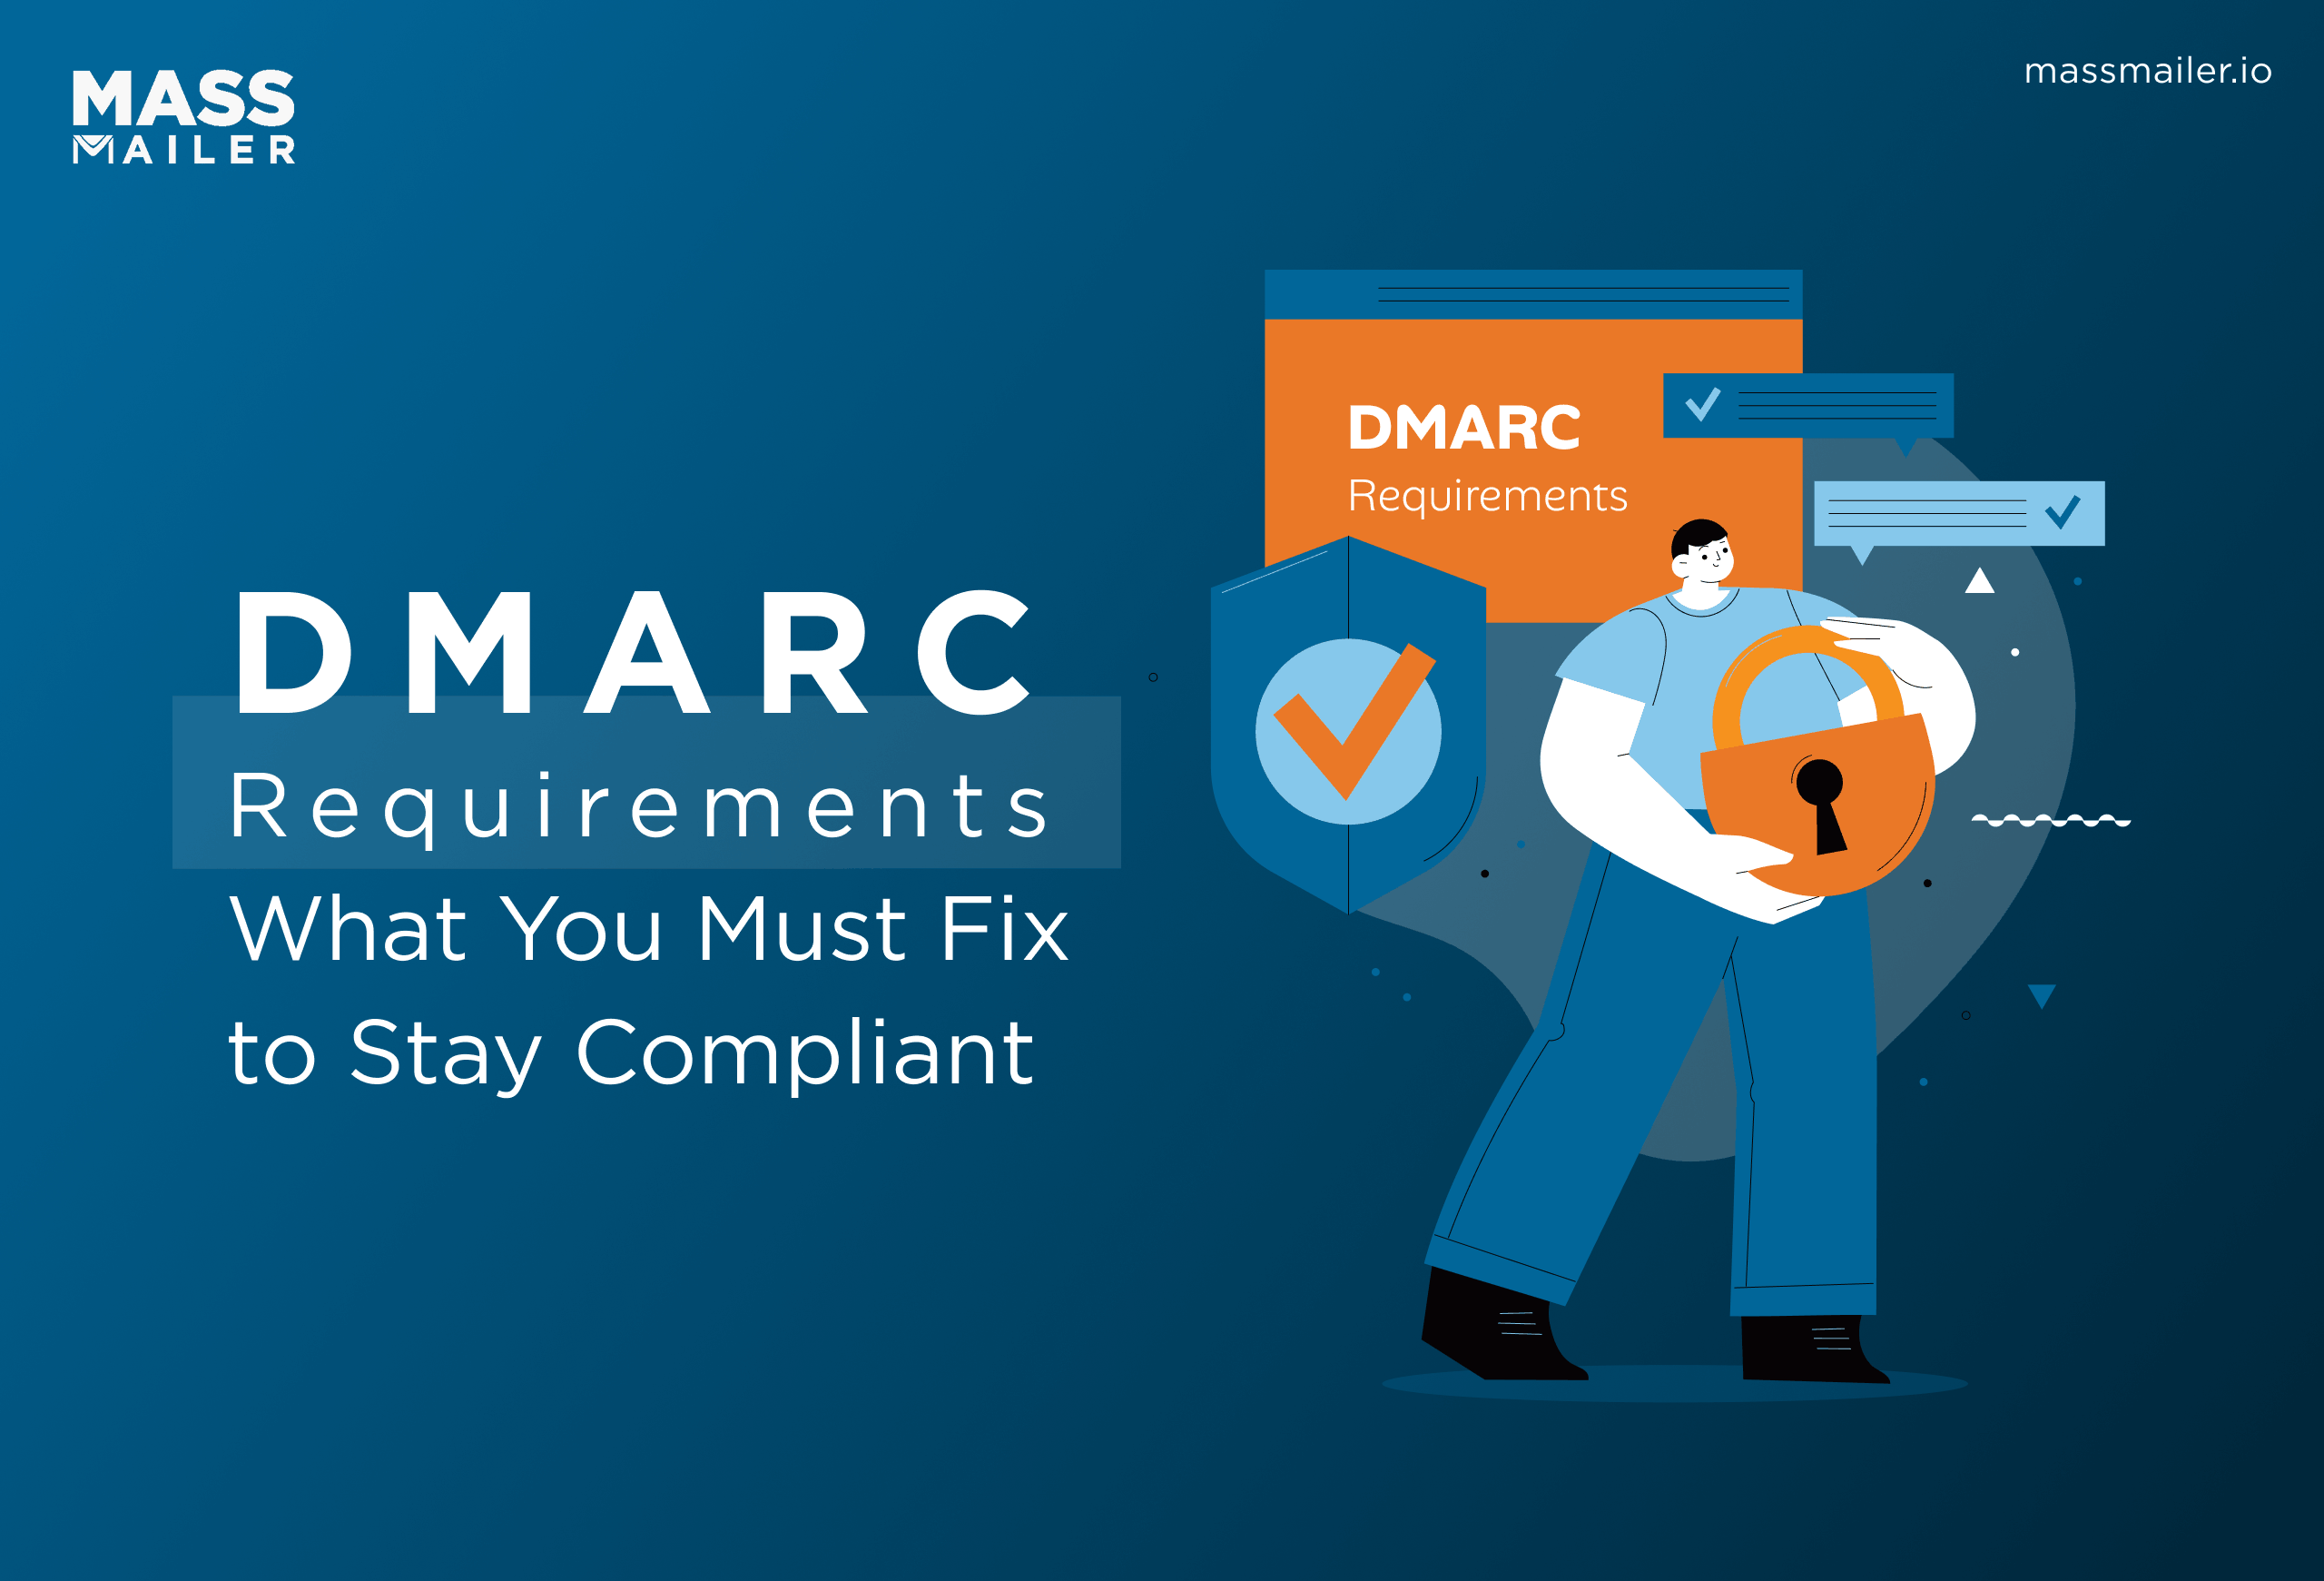
How to check SPF, DKIM, and DMARC
Email authentication proves to receiving servers that your messages genuinely come from your domain, and it is the first thing any deliverability audit checks. Three DNS records do the work: SPF, DKIM, and DMARC. If any one is missing or misconfigured, mailbox providers treat your mail as suspect.
This matters more for bulk senders than it used to. Since February 1, 2024, Google requires any domain sending more than 5,000 messages a day to Gmail to authenticate with SPF, DKIM, and DMARC, and to keep its spam-complaint rate under 0.3 percent (Google, 2024). Yahoo enforces the same bar. A Salesforce org running large campaigns sits right inside that threshold, so these records stopped being optional. To run a quick check, open one of your recent campaigns in Gmail, click Show original, and read the SPF, DKIM, and DMARC results. All three should say PASS.
SPF
SPF lists the IP addresses and services allowed to send on behalf of your domain. Pull your SPF TXT record and confirm it includes every system you send through, including Salesforce and any relay or marketing app. Watch the lookup limit: SPF allows a maximum of 10 DNS lookups, and each include counts toward it. Teams sending through several services quietly cross 10 and the record fails. When you authenticate Salesforce sending, the Salesforce SPF record needs its own include in that chain.
DKIM
DKIM signs each message with an encrypted key so the receiver can confirm nothing was altered in transit. Use a 2048-bit key where your provider supports it, and rotate keys periodically so an old one cannot be abused. In Salesforce, you enable DKIM under Setup, then Email, then DKIM Keys, and publish the generated record in DNS. Confirm the selector matches what your sending domain actually uses, since a mismatched selector passes in testing but fails in production.
DMARC
DMARC tells receiving servers what to do when SPF or DKIM fails, and it reports back on who is using your domain. Start at p=none to monitor without blocking, read the reports for a few weeks, then move to p=quarantine once legitimate mail passes cleanly. Many teams that already meet the new Google and Yahoo authentication rules still see failures because a subdomain or relay was never added to the policy.
Check your sender reputation and blacklist status
Your sender reputation is the score mailbox providers assign to your domain and IP based on how recipients react to your mail. A high score lands you in the inbox. A low one routes you to spam or gets you rejected outright. The audit reads this score from the providers themselves rather than guessing at it.
Domain and IP reputation
The most reliable reputation signals come straight from the mailbox providers. Google Postmaster Tools shows your domain and IP reputation with Gmail, your spam-complaint rate, and your authentication pass rates. Microsoft SNDS does the same for Outlook and Hotmail. Register both for your sending domain and read them weekly during an audit. The spam-complaint rate is the number to watch, because a rate creeping toward Google's enforced limit predicts a deliverability drop before your open rate shows it. Inside Salesforce, an email reputation monitor keeps these signals next to the records you actually send from.
Blacklist monitoring
Blacklists, also called blocklists, are databases of IPs and domains flagged for spam. Land on a major one like Spamhaus and a large share of your mail stops reaching inboxes immediately.
Run your sending IP and domain through MXToolbox or a similar lookup to see your listing status across the major blocklists. If you find a listing, identify the cause first, usually a volume spike or a spam-trap hit, fix it, then file for delisting through the blocklist's own process. Delisting takes time, so monitor monthly instead of waiting for a problem.
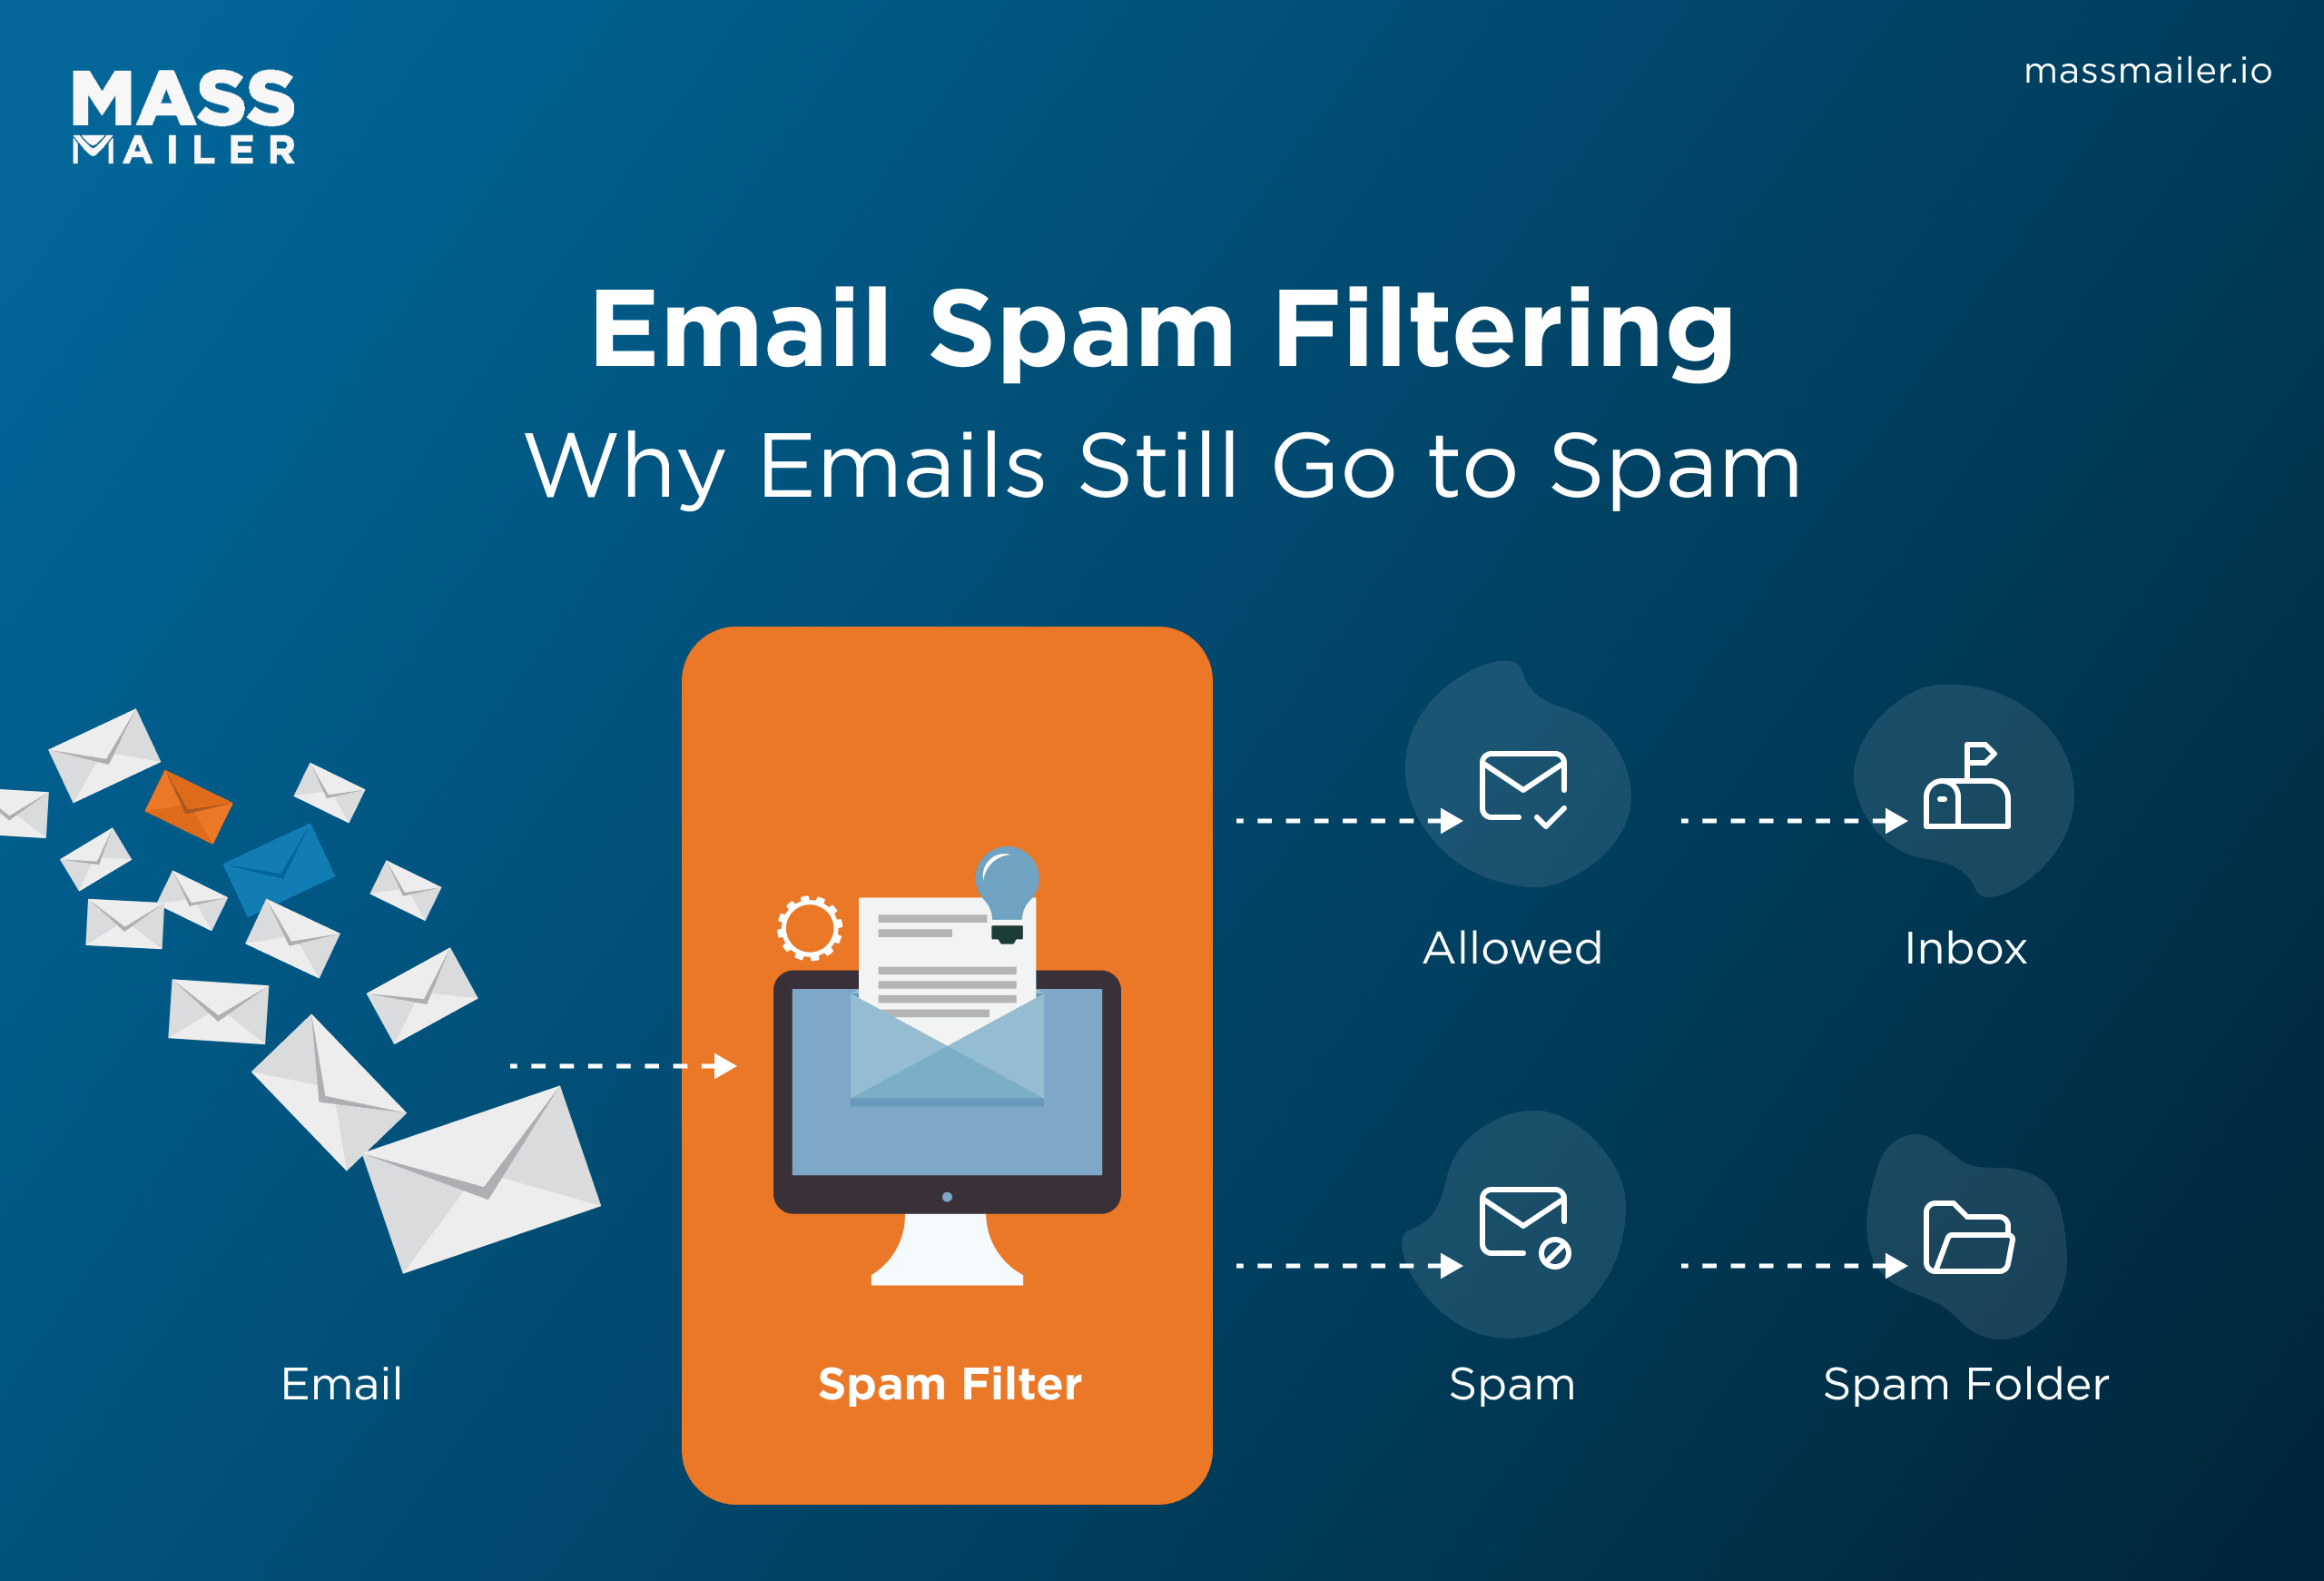
Measure your inbox placement rate
Inbox placement rate is the percentage of your delivered emails that land in the primary inbox rather than spam or a promotions tab. It measures deliverability more directly than delivery rate, and most Salesforce reporting will not show it, because Salesforce records a message as delivered the moment the receiving server accepts it.
To measure it, run a seed test. Send your campaign to a spread of seed addresses across Gmail, Outlook, Yahoo, and Apple Mail, then record where each copy lands. Seed-testing tools automate this and return a placement percentage per provider. A healthy result sits above 90 percent inbox. Anything lower points you back to authentication, reputation, or content.
Test your real campaign creative, including image-heavy templates and link shorteners, since those push placement down. Prioritize placement tests on your highest-volume sends, because those carry the most pipeline and do the most damage when they miss the inbox or get marked as spam in Salesforce.
Audit list hygiene and bounce management
List quality is where most deliverability problems actually start. Invalid addresses, spam traps, and disengaged contacts drive bounces and complaints, and those two signals do more damage to your reputation than almost anything else. The audit checks how clean your list is and how cleanly you handle the bounces it produces.
List hygiene and verification
A clean list starts with removing the addresses already working against you. Pull your bounce and engagement data from the last few campaigns and segment out addresses that hard-bounced, never opened, or triggered complaints. Verify the rest. An email verification pass flags invalid, role-based, and disposable addresses before you send, which keeps spam traps off your list. Never send to a purchased list, since that is the fastest route into a spam trap and onto a blacklist. Re-verify quarterly, because lists decay by roughly a quarter to a third every year as people change jobs and abandon inboxes.
Bounce management
Bounces split into two kinds, and the audit treats them differently. Hard bounces are permanent failures from invalid or non-existent addresses, so suppress them after the first bounce. Soft bounces are temporary, from a full mailbox or a server timeout, and warrant a retry before suppression. In Salesforce, confirm that bounced addresses are flagged so campaigns stop targeting them automatically. A clear bounce management workflow keeps a single bad import from dragging down the reputation of every future send.
Dedicated vs shared IP for Salesforce bulk senders
Once your Salesforce sending volume grows, the audit reaches a decision generic guides skip: should you send from a shared IP or a dedicated one? The answer shapes your reputation more than any single DNS record, and it ties directly to how Salesforce handles bulk email.
Here is the constraint. A standard Salesforce org caps single email to external recipients at 5,000 per day. Past that ceiling, bulk senders move to an SMTP relay, a dedicated sending service, or a native app, and that is exactly the point where the IP decision lands on your desk.
When a dedicated IP makes sense
Shared IPs pool many senders onto the same address. They suit lower or irregular volume, because the pooled reputation carries you, though a careless sender in the pool can drag your placement down with them. A dedicated IP isolates your reputation, so your sending alone decides your fate.
The tradeoff is that a dedicated IP needs steady volume to stay warm. Salesforce's own Marketing Cloud guidance recommends at least 100,000 emails per month per dedicated IP to hold a healthy reputation. Below that, a shared IP usually delivers better.
Weigh the shared-vs-dedicated IP tradeoff against your real monthly volume rather than your single busiest month.
Running the audit as a Salesforce-native sender
Staying inside Salesforce changes how you run the whole audit. MassMailer is a Salesforce-native sending app built on its own dedicated infrastructure with IP warm-up support, so you clear the 5,000-a-day ceiling without bolting on an external platform or syncing a second database.
Because sends, opens, bounces, and complaints record straight onto your Lead and Contact records, the reputation and bounce data the audit needs sits in one place instead of scattered across tools. Its built-in email verifier screens addresses before they send, which protects the sender reputation you just worked through this audit to clean up.
Conclusion
A deliverability audit is not a one-time fix. Work through it in order: confirm SPF, DKIM, and DMARC pass, read your reputation from Postmaster Tools and SNDS, check your blacklist status, measure real inbox placement, then clean your list and tighten bounce handling.
For Salesforce senders, the volume question sits underneath all of it, and the dedicated-versus-shared IP call follows from your monthly numbers. If your campaigns keep slipping past the 5,000-a-day ceiling and into spam,
MassMailer gives you native Salesforce sending on dedicated infrastructure, with verification and reputation monitoring built in. Start a MassMailer trial and run your next audit on a sending setup built for Salesforce volume.
Frequently Asked Questions
1. How long does an email deliverability audit take?
2. How much does an email deliverability audit cost?
3. How often should you run a deliverability audit?
4. What is a good email deliverability rate?
5. Why do Salesforce emails go to spam?
6. Can you run a deliverability audit without leaving Salesforce?
Start Your Free Trial Today
Experience MassMailer the easiest way to send personalized emails from Salesforce.
Related Blogs

MassMailer Resources


About the Author

Siva Devaki 
Siva Devaki is the founder of MassMailer Inc., a tool that helps Salesforce users optimize email marketing. A passionate advocate for email marketing, Siva writes and hosts podcasts on the topic, sharing insights to help businesses drive revenue and enhance customer engagement through Salesforce email automation and tracking.