



Table of Contents
Salesforce marks an email as delivered even when the recipient’s mail server rejects it at the gate. Without a Salesforce DKIM key, your domain cannot prove the message came from you. The recipient’s server either bounces it with a 550 5.7.26 error or quietly drops it into junk.
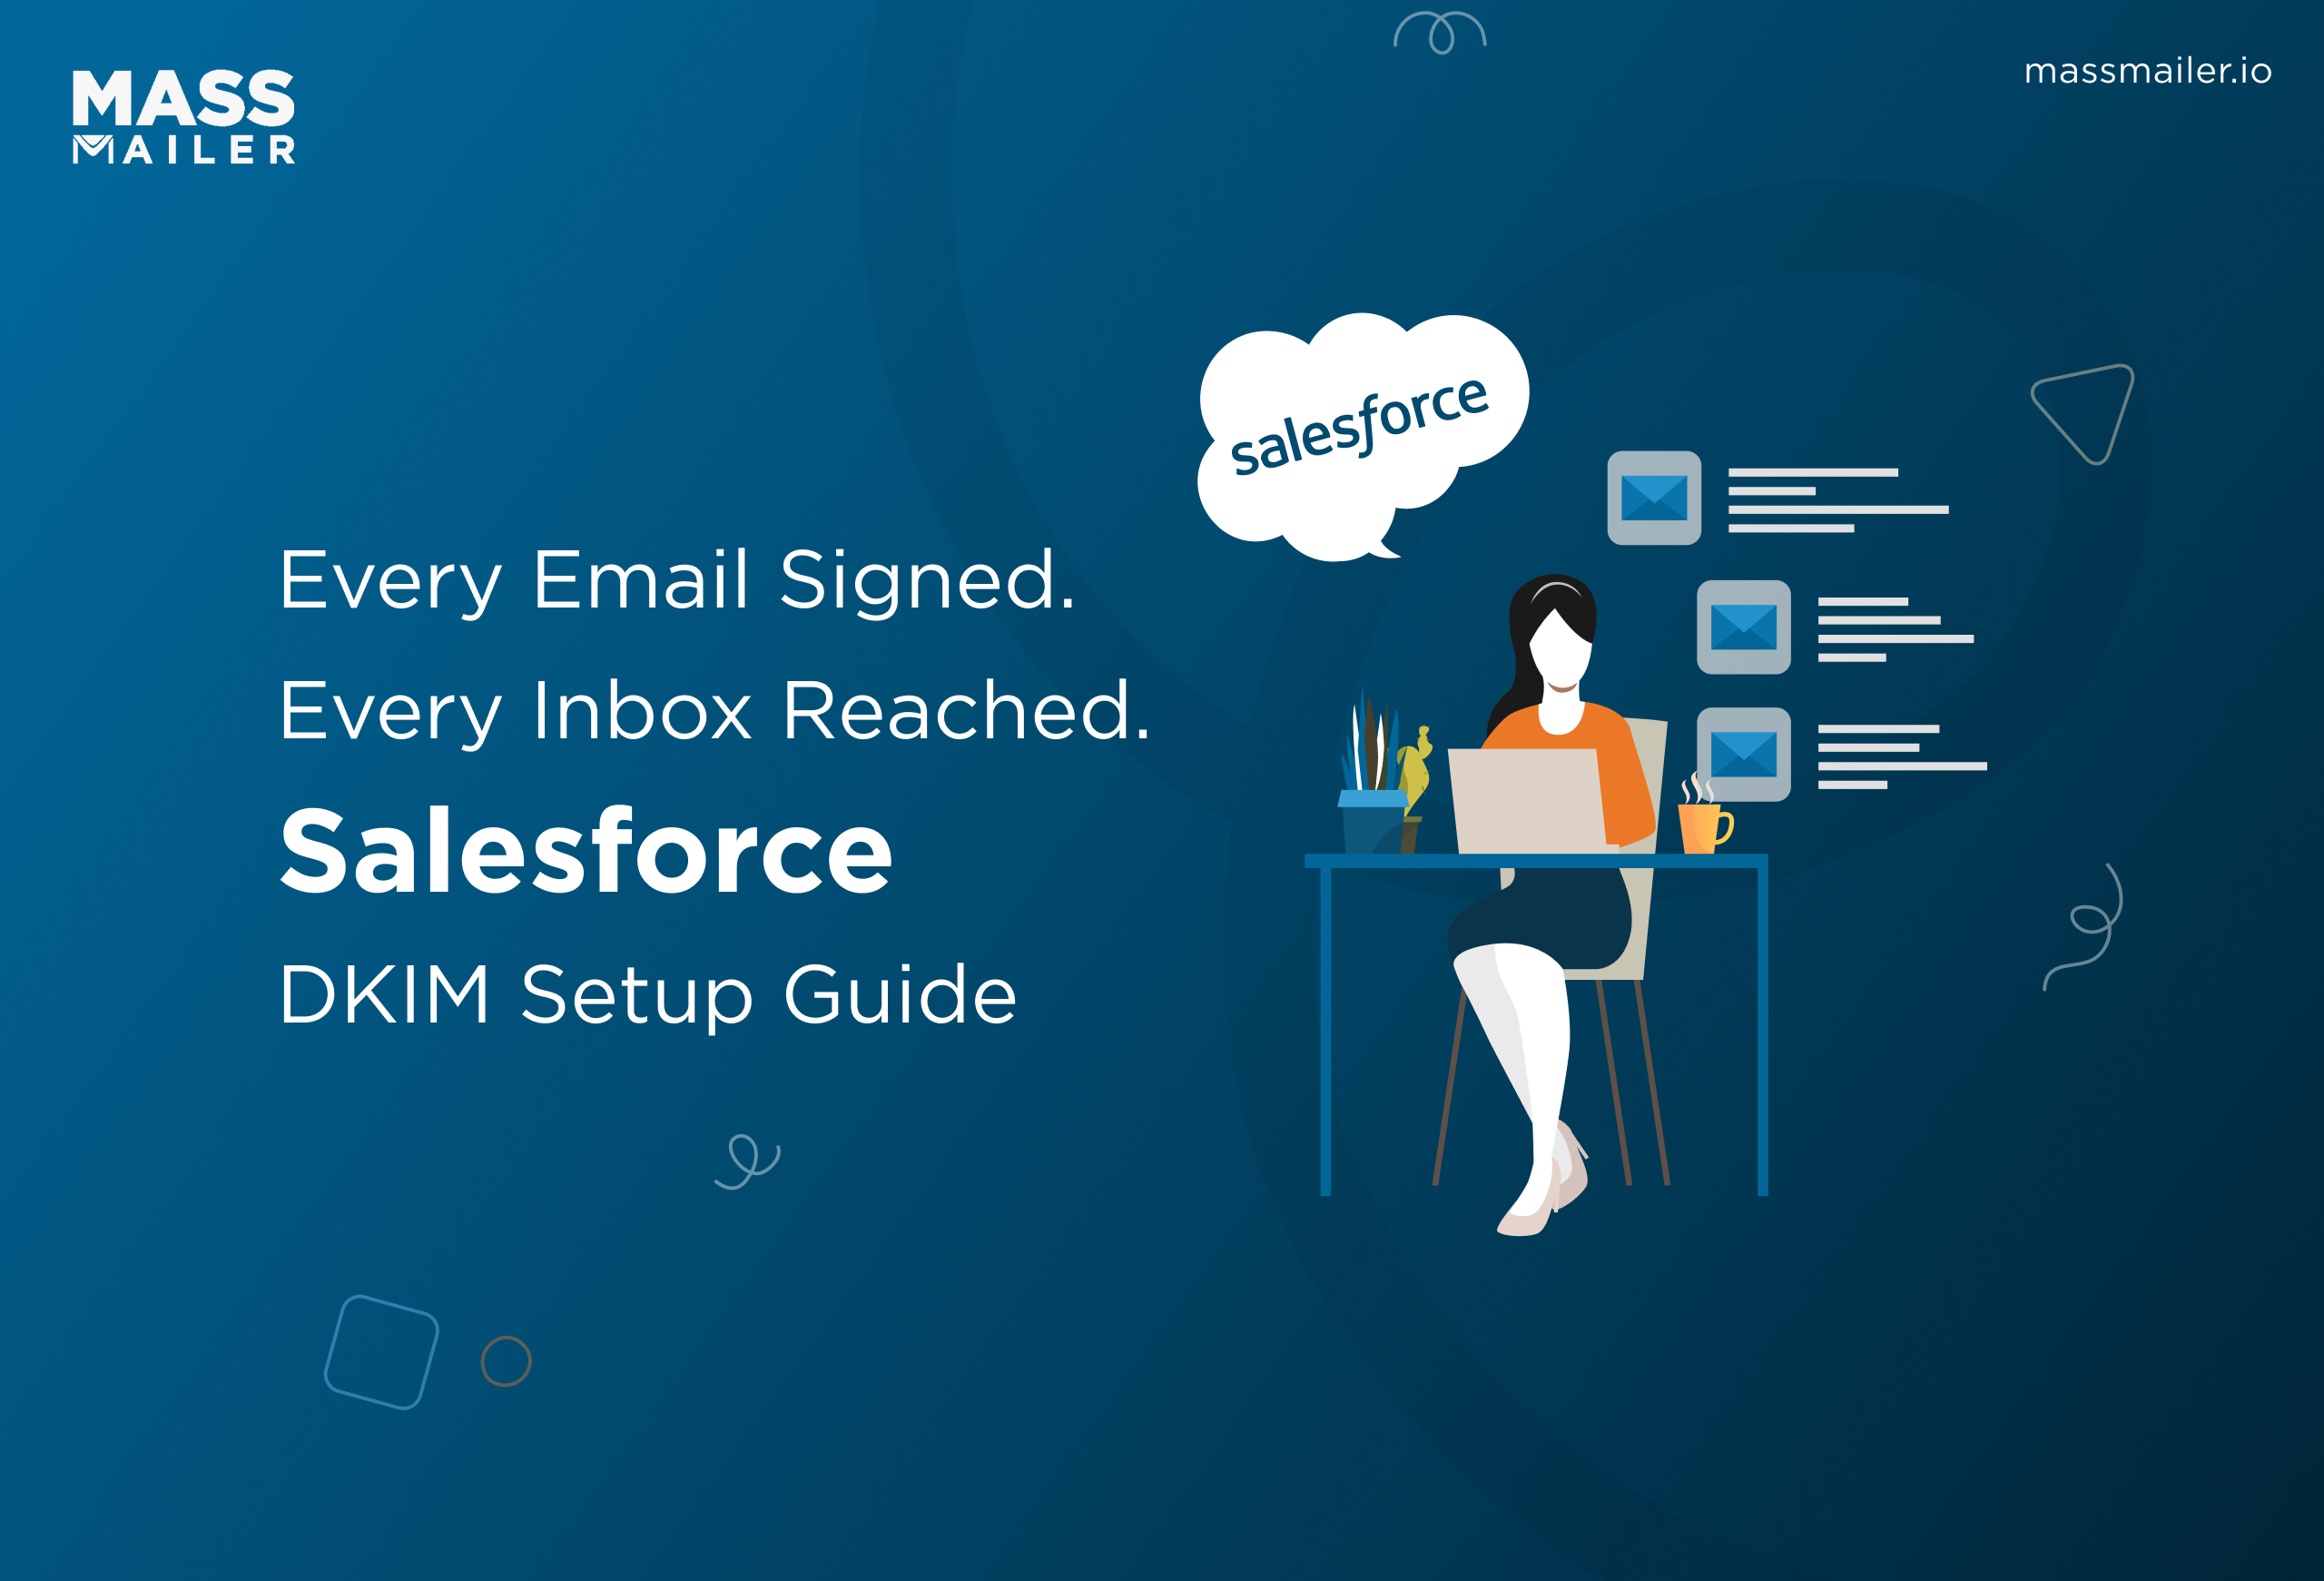
Since early 2026, Salesforce blocks all outbound email from unverified domains entirely. Three steps in Salesforce Setup fix this. This guide covers what DKIM keys are in Salesforce, how to create and activate them, how to configure domain match patterns, and how to troubleshoot when the Activate button stays greyed out.
What Are DKIM Keys in Salesforce
Salesforce DKIM keys are cryptographic key pairs that prove your outbound emails came from your domain. The private key stays inside Salesforce and signs every outgoing message with a unique digital signature. The public key sits in your DNS as a CNAME record.
When a recipient’s mail server receives your email, it pulls the public key from DNS. Then it checks the signature against that key. If the two match, the server confirms the message arrived intact and actually came from you.
Without DKIM, receiving servers have no reason to trust your domain. Over time, that weakens yoursender reputation. Emails then start landing in spam instead of the inbox. If your emails return a 550 5.7.26 error, a missing or inactive DKIM key is the most common cause.
DKIM also plays a key role in DMARC compliance. DMARC requires either SPF or DKIM alignment to pass. Without a DKIM key, your domain depends on SPF alone. A single SPF failure means the email fails DMARC entirely.
Salesforce offers 1024-bit and 2048-bit key sizes, with 2048-bit recommended for production orgs.
Salesforce DKIM Setup Requirements
A Salesforce DKIM setup requires admin permissions, a custom domain, and access to your DNS console.
The admin account needs the “Customize Application” permission in Salesforce Setup. Without it, the DKIM Keys page stays hidden under Email Administration. Free email domains like gmail.com do not support DKIM signing. Your organization must own the sending domain. Since March 2026, Salesforce blocks outbound email from any domain without verified authentication.
You also need login access to your DNS provider. Salesforce generates two CNAME records during key creation. A DNS admin publishes those records before the key activates.
Before you begin, choose a key size. Salesforce offers 1024-bit and 2048-bit options. Select 2048-bit for production orgs. It provides stronger encryption and meets currentemail authentication standards.
How to Set Up DKIM in Salesforce
Salesforce DKIM setup takes three steps: create the key in Setup, publish two CNAME records in your DNS, and activate. The entire process takes under 15 minutes of hands-on work. However, DNS propagation adds a waiting period of 2 to 48 hours before activation.
Create a DKIM Key in Salesforce
Open Salesforce Setup and type “DKIM” in the Quick Find box. Select DKIM Keys under Email Administration, then click Create New Key. Salesforce presents four fields:
- Selector: A short label for this key, such as “sf1” or “mail.”
- Alternate Selector: A second label that enables automatic key rotation.
- Domain: Your sending domain, such as yourcompany.com.
- Key Size: Choose between 1024-bit and 2048-bit. Select 2048-bit for stronger encryption.
Click Save. Salesforce then generates two CNAME records tied to your selectors. Copy both records exactly as they appear. You will need them in the next step.
One important detail: DKIM keys do not transfer between Salesforce orgs. If you create a key in sandbox, you must build a separate key for production.
Publish DKIM CNAME Records in DNS
Log in to your DNS provider and create two new CNAME entries. Paste the host and value fields character for character. A single typo causes validation to fail silently.
If your domain also needs anSPF record, configure it during the same session. Handling both records at once saves a second round of propagation wait.
After publishing, allow 2 to 4 hours for DNS propagation. In some cases, propagation takes up to 48 hours. Verify the records with MXToolbox or dig before moving to activation.
Activate Your DKIM Key
Return to the DKIM Keys page in Salesforce Setup. The new key displays a Pending status. Click Activate to enable DKIM signing for that domain.
Once activated, Salesforce signs every outbound email from that domain with your private key. Only one DKIM key stays active per domain at a time. Activating a new key deactivates the previous one automatically.
If the Activate button appears greyed out, DNS propagation has not completed yet. The troubleshooting section below covers this and other common activation failures.
Salesforce handles key rotation automatically when you configure both selector fields. After activation, Salesforce cycles between selectors on its own schedule. You do not need to rotate keys manually after the initial setup.
Salesforce DKIM Domain Match Pattern Explained
The DKIM domain match pattern controls which sending addresses Salesforce signs with your DKIM key. Salesforce offers two options: Exact Domain and Subdomain Match.
Exact Domain signs only emails sent from the root domain, such as yourcompany.com. If your org sends from a subdomain like marketing.yourcompany.com, those messages leave unsigned.
Instead, Subdomain Match signs emails from the root domain and all its subdomains. Select this option if your Salesforce org uses subdomains in the From address for different departments or campaigns.
The setting lives on the DKIM key record itself. Navigate to Setup, open your DKIM key, and check the Domain Match field. Changing this field does not require a new key or fresh DNS records.
Without the right pattern,DMARC alignment breaks. DMARC checks that the DKIM signing domain matches the From address domain. If your org sends from marketing.yourcompany.com but the key uses Exact Domain, those two domains don’t match. The DKIM signature passes validation, but DMARC still fails.
For most Salesforce orgs, Subdomain Match is the safer default. It covers the root domain and every subdomain without requiring a separate key for each.
Troubleshooting Salesforce DKIM Issues
Three issues cause most Salesforce DKIM failures: a greyed-out Activate button, a Success None status, and emails landing in spam. Each one has a different root cause.
DKIM Activate Button Greyed Out
The Activate button stays greyed out when Salesforce cannot verify your CNAME records in DNS. The most common cause is incomplete DNS propagation. Allow up to 48 hours after publishing the records.
After that window, check for typos. Open your DNS provider and compare each CNAME host and value field character for character against what Salesforce generated. A single mismatched character keeps the button disabled.
Also verify that the domain on the DKIM key matches your actual sending domain. A key created for marketing.yourcompany.com does not generate valid records for yourcompany.com.
If the records check out, verify them independently using MXToolbox or dig. Once the tool confirms the expected CNAME values, try a hard browser refresh on the DKIM Keys page.
DKIM Shows Success None
A Success None status in email headers means Salesforce did not sign the outbound message. The key exists but did not apply to that specific send.
Start by confirming the key status on the DKIM Keys page. If it still shows Pending, the key is not active yet. Return to the activation step above.
If the key shows Active, check the domain match pattern. An Exact Domain key does not sign emails sent from subdomains. Switch to Subdomain Match if your From address uses one. Then send a test email and inspect the raw headers for a DKIM-Signature field.
Emails Land in Spam Despite DKIM
A valid DKIM signature does not guarantee inbox placement. DKIM proves the email came from your domain. However, spam filters evaluate additional signals beyond authentication.
Check SPF alignment first. If SPF fails, the email fails DMARC even with a passing DKIM signature. Verify your DMARC policy next. A policy set to p=none does not instruct receiving servers to act on authentication results.
If authentication passes and emails still land in spam, sender reputation is the likely cause. A domain or IP with a history of complaints or bounces triggers filtering regardless of DKIM status. Review youremails marked as spam to identify the pattern.
Salesforce DKIM and SPF Alignment
DKIM and SPF authenticate Salesforce emails through different methods. DMARC requires alignment from at least one to accept the message. Configuring both gives your domain a safety net against common delivery failures.
SPF verifies the sending server’s IP address. DKIM verifies the message content and signing domain. During email forwarding, SPF breaks because the forwarding server’s IP does not match your SPF record. However, DKIM still passes because the signature travels with the message itself. Without both protocols, a single forwarding event fails your authentication entirely.
To verify alignment, send a test email and check the raw headers. Look for spf=pass and dkim=pass in the Authentication-Results field. Then confirm both results show your From domain. If either result shows a domain mismatch, that protocol fails DMARC alignment even though the individual check passed.
Google and Yahoo require DMARC alignment for bulk senders. After configuring both protocols, run adeliverability audit to confirm alignment holds across all sending paths.
Next Steps After Salesforce DKIM Setup
Your domain now signs every outbound Salesforce email with a verified DKIM key. Combined with SPF, this gives your org full DMARC alignment and stronger inbox placement across Gmail, Yahoo, and Outlook.
Visit the DKIM Keys page quarterly to confirm the key status stays Active. If your org adds new sending domains or subdomains, create a fresh key. Set the domain match pattern to Subdomain Match. Then send a test email and check the raw headers. Look for spf=pass, dkim=pass, and your From domain in the Authentication-Results field.
Once authentication holds across all sending paths, the next bottleneck is volume. Salesforce enforces daily mass email limits based on your edition. MassMailer removes those caps and handlesmass email marketing natively inside Salesforce. Every campaign inherits your DKIM signature, SPF record, and DMARC alignment automatically. No third-party relay breaks your authentication, and MassMailer requires no separate DKIM setup.
Schedule a demo to see how MassMailer sends authenticated email at scale from your Salesforce org.
Frequently Asked Questions
1. Does Salesforce DKIM work with email relay?
2. How often should you rotate DKIM keys in Salesforce?
3. Does Salesforce DKIM apply to Marketing Cloud emails?
4. Can you create DKIM keys for multiple domains in one Salesforce org?
5. Does deactivating a DKIM key in Salesforce affect email delivery?
6. Do Salesforce DKIM keys expire?
Related Blogs
Salesforce SPF Record: Setup, Recommended Value, and Common Errors
Salesforce Email Encryption: How It Works, Setup & Limitations
MassMailer Resources




MassMailer Glossary
About the Author

Siva Devaki 
Siva Devaki is the founder of MassMailer Inc., a tool that helps Salesforce users optimize email marketing. A passionate advocate for email marketing, Siva writes and hosts podcasts on the topic, sharing insights to help businesses drive revenue and enhance customer engagement through Salesforce email automation and tracking.