Table of Contents
Introduction
Email remains one of the chief marketing channels that enables companies to address their patrons one-on-one. Creating an email marketing campaign isn’t just about sending emails and waiting for responses. It’s also about monitoring and curating your email lists. Active, engaged customers are what your email marketing campaign needs, but not inactive and abandoned email accounts.
With that said, not all campaign emails reach the recipient’s inbox due to various reasons, like an invalid email address. MassMailer lets you reduce email bounce rate by verifying emails even before sending email campaigns in Salesforce.
This blog will help you understand how to validate every lead email automatically via MassMailer to ensure your campaigns do not bounce. Let’s get started.
Common Bounce Types in Salesforce
When Salesforce emails fail to reach recipients, the system classifies them into different bounce types. Understanding these categories is essential for diagnosing issues, improving deliverability, and keeping your contact database clean.
Soft Bounces: Temporary Failures
A soft bounce means the email address itself is valid, but the message couldn’t be delivered due to a temporary issue. Common causes include:
- The recipient’s mailbox is full.
- The mail server is temporarily unavailable or busy.
- The message is too large to process.
Salesforce (and Salesforce Marketing Cloud) will typically retry sending soft-bounced emails for a set period (e.g., up to 72 hours). If delivery still fails, the email may eventually be classified as a hard bounce.
Soft bounces don’t always mean the address is bad, but repeated soft bounces are a signal to verify and possibly suppress the address.
Hard Bounces: Permanent Failures
A hard bounce indicates a permanent delivery failure. Unlike soft bounces, these emails will never reach the intended recipient unless the underlying issue is fixed. Causes often include:
- The email address doesn’t exist.
- The domain is invalid (e.g., misspelled domain).
- The recipient’s server has blocked the email permanently.
Salesforce automatically flags hard-bounced emails with fields like Email Bounced Reason and Email Bounced Date on Leads and Contacts. These records can then be excluded from future sends.
Hard bounces should trigger immediate list hygiene actions like removing or updating invalid addresses to protect your sender reputation.
Block Bounces: Deliverability and Reputation Issues
A block bounce happens when the recipient’s mail server actively refuses the message, not because the address is invalid, but because of deliverability or reputation problems. Common reasons include:
- Missing or incorrect authentication (SPF, DKIM, DMARC).
- The sending IP or domain has a poor reputation or is blacklisted.
- The recipient’s server has strict filtering rules.
- You sent a large volume of emails in a short time, triggering throttling.
In Salesforce Marketing Cloud, block bounces are recorded separately, helping admins spot authentication or reputation issues quickly.
Block bounces point to a sender reputation problem. Solving them requires strengthening authentication, warming up IPs, and maintaining healthy engagement practices.
Why Do Salesforce Emails Bounce?
Even when bounce management is enabled in Salesforce, figuring out why emails bounce can be tricky. The reasons span from technical misconfigurations to server-side restrictions. Let’s break it down.
Authentication & Deliverability Problems
One of the most common root causes of bounces is email authentication failure. If Salesforce emails aren’t authenticated properly, receiving servers may reject them outright. Typical issues include:
- SPF (Sender Policy Framework): Missing or misconfigured DNS records cause the receiving server to distrust the message.
- DKIM (DomainKeys Identified Mail): Emails without a valid DKIM signature may be flagged as spoofed.
- DMARC: A strict DMARC policy without proper SPF/DKIM alignment can block emails.
- Poor sender reputation: High bounce rates, spam complaints, or blacklisted IPs reduce deliverability.
Set up Salesforce’s Sender Authentication Package (SAP) or ensure your DNS records are correct. Regularly monitor IP/domain reputation to avoid block bounces.
Email Service Queue & Apex-Specific Issues
If you send emails programmatically (via Apex), the email may enqueue successfully but still bounce later. Here are a few reasons why this might happen:
- The email service queue only tracks whether Salesforce accepted the message, not whether the recipient server did.
- Non-admin users may experience bounce issues when using Apex Messaging.sendEmail() without proper configuration.
- Large volumes of emails in the queue can trigger throttling or delayed deliveries.
Monitor queue logs, review Apex code for correct configuration, and test using both admin and non-admin profiles.
Bounce Logging & Return-to-Sender Settings
By default, Salesforce may discard bounce details unless you’ve enabled bounce management properly.
- Without the “Return bounced emails to sender” option, you won’t see the actual bounce message.
- When enabled, Salesforce returns the bounce reason to the sender and logs key details in fields like Email Bounced Reason and Email Bounced Date.
- On objects like EmailMessage, bounce reasons may not appear unless tied to a Lead/Contact record.
Confirm that both Activate Bounce Management and Return bounced emails to sender are enabled in Setup → Email Deliverability.
Diagnosing the Root Cause
After enabling bounce handling, you need tools to dig into the details of why Salesforce emails fail.
Using Email Log Files and Bounce Fields
- Email Log Files: These contain raw SMTP responses from recipient servers (e.g., “550 Mailbox not found”). Admins can request logs from Salesforce to investigate delivery failures.
- Bounce fields on records: Standard fields like EmailBouncedReason, EmailBouncedDate, and IsEmailBounced provide bounce context directly on Leads and Contacts.
- These fields can be surfaced in reports or dashboards for monitoring bounce trends.
Identifying Bounce Reasons & Limitations
While Salesforce does capture bounce data, there are some limitations to be aware of:
- Bounce fields may not populate for emails not linked to a Lead or Contact.
- Some temporary soft bounces may not provide detailed reasons, only a generic “undeliverable” status.
- Bounce notifications are dependent on the recipient’s server sending back a Non-Delivery Report (NDR). If the server doesn’t return one, Salesforce won’t log the reason.
Use a combination of Email Log Files, bounce fields, and sender return messages to piece together the full bounce picture.
To diagnose Salesforce email bounces effectively, you need to check authentication records, email service queues, bounce settings, log files, and record fields together. This layered approach helps you pinpoint whether the issue lies in configuration, reputation, or recipient server behavior.
Salesforce Email Bounce Management: Practical Fixes & Preventive Measures
Understanding why emails bounce is only half the battle. The real goal is to reduce bounce rates and maintain a healthy sender reputation over time. Below are practical steps every Salesforce admin and marketer should follow.
Improve Authentication and Reputation Management
Strong authentication and a positive sender reputation are non-negotiable for keeping bounce rates low.
- Set up SPF, DKIM, and DMARC records in your DNS to prove Salesforce is authorized to send on your behalf.
- Use Salesforce’s Sender Authentication Package (SAP) or Marketing Cloud’s Dedicated IPs to gain more control over sending reputation.
- Warm up new IPs gradually by starting with smaller email volumes before scaling up.
- Monitor reputation tools (like Google Postmaster or third-party monitoring services) to spot blacklisting or deliverability issues early.
- Avoid spam-triggering practices (overuse of images, misleading subject lines, or sending to inactive contacts).
Without proper authentication, even legitimate emails may be rejected or land in spam, inflating bounce rates.
Validate & Clean Email Lists
Poor list hygiene is one of the biggest drivers of hard bounces in Salesforce. Keeping your contact data accurate prevents wasted sends and protects your domain.
- Regularly audit CRM data to remove invalid or outdated email addresses.
- Use data enrichment tools or Salesforce AppExchange apps to validate records automatically.
- Suppress addresses that consistently soft bounce or show no engagement over time.
- Segment high-risk lists (e.g., inactive contacts) and test smaller sends before including them in large campaigns.
A cleaner list equals fewer hard bounces, stronger engagement, and better deliverability.
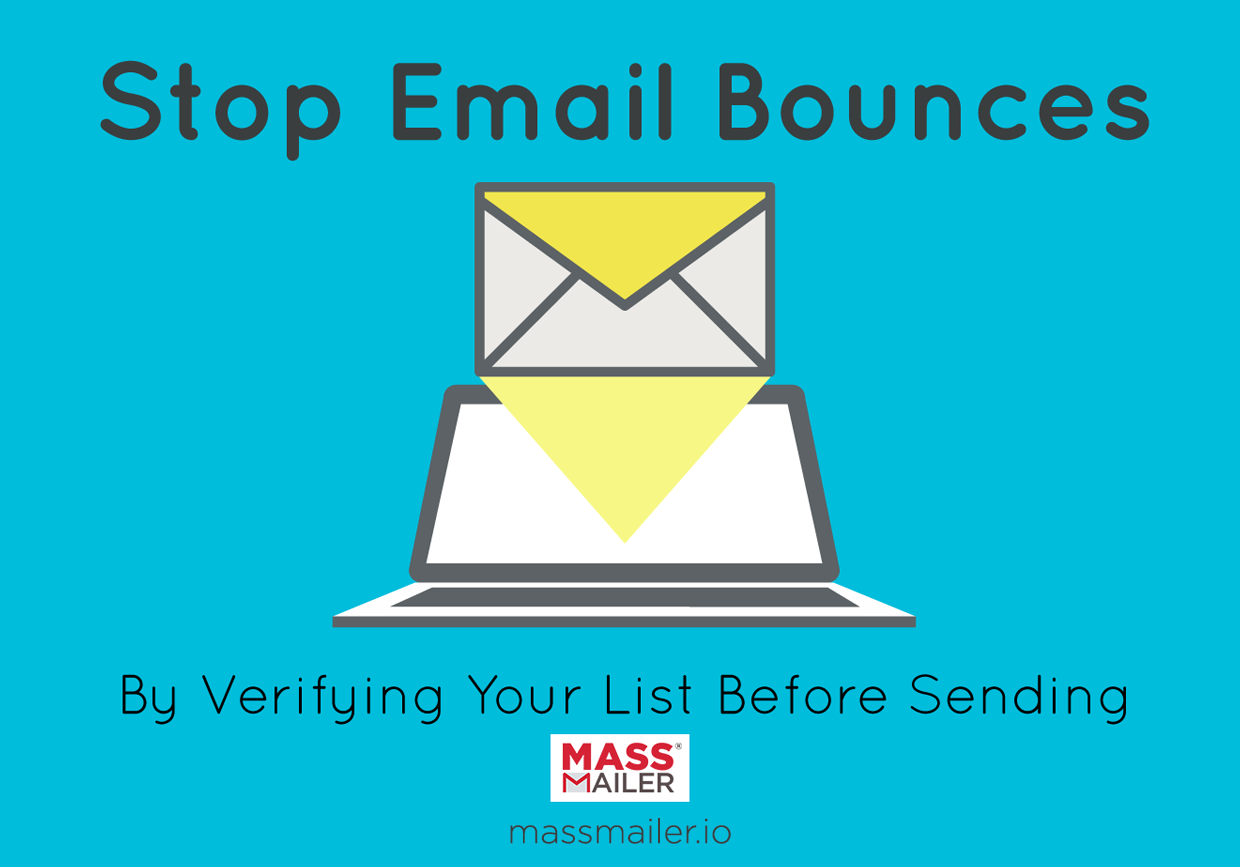
How to reduce email bounce rate by verifying email addresses?
How many of the email addresses on your list are active email addresses? If you don’t know, then you don’t know how effective your email marketing truly is or how many consumers you’re reaching out to. Customers today may have multiple email addresses, and they may change email addresses when they get new jobs, graduate from college, or simply start getting too much spam.
62% of consumers have abandoned email addresses because they received too many emails. Imagine a situation in which you’re sending bulk email from Salesforce and getting responses from only 4% of your customers. That might seem ineffective… until you discover that 50% of those email addresses are no longer active. Suddenly, you’ve boosted your campaign’s Salesforce engagement rate to an impressive 8%.
It’s not always possible to verify all of the email addresses on your list, but it’s a good idea to regularly clean your list for email addresses that you know are inactive.
Methods for Verifying Email Addresses
Verifying email addresses is about protecting your brand reputation, keeping your CRM clean, and ensuring every campaign reaches the right people. Think of it as the difference between talking into a void and having meaningful conversations with your audience.
Here are a few of the best ways to verify your email addresses:
Verify email addresses upon sign-up.
You can start your campaigns in Salesforce with a two-step opt-in by requiring customers to verify their email addresses when they begin. There are only two downsides: it requires additional work on behalf of the customer, and the customer could later abandon the email account.
Check for downloaded content.
You can confirm that your email has been received by detecting whether it’s been opened. When someone opens your email, they usually need to download the content included in the email, and that means that a connection to your server is established.
Unfortunately, this doesn’t count emails that are received and not opened. This is the method used most often when sending bulk email from Salesforce CRM.
Logging bounced emails.
When email accounts are incorrect, the server will often “bounce” the email back to you. By logging bounced emails, you can remove incorrect email addresses from your list.
However, this will not help you identify emails that are received by valid but no longer active email accounts. In email marketing for Salesforce, this is usually the simplest way to verify emails.
The best verification strategy blends technology with discipline: automate checks at every entry point, review data regularly, and treat verification as an ongoing hygiene practice, not a one-time fix. Done right, it transforms your Salesforce email strategy from “send and hope” into “send and deliver.”
How to Verify Emails with MassMailer
Your business captures leads from diverse sources, such as manual entries, Salesforce imports, or other channels and forms. Sometimes, however, you cannot be completely sure about the lead data that your forms fetch.
MassMailer helps you verify and validate the emails automatically that your forms capture to prevent bounces and reduce the bounce rate. There are two ways in which you can validate your emails in MassMailer:
- Validate emails after your records are saved in Salesforce using the “MassMailer Verify” button.
- Validate the emails using MassMailer’s Auto-Validate feature.
This blog focuses on using the auto-validate feature to verify lead information via MassMailer. You can use this feature on all contacts, including the ones gathered from web-to-lead forms. You can use MassMailer to validate any object or email that is enabled in MassMailer.
How Does it Work?
In Salesforce Process Builder, there is an Apex Class called “Verify Via MassMailer.” When you define a process in the Process Builder, you must invoke this verification action to validate emails via MassMailer.
Please note: MassMailer currently does not have a packaged process or flow to execute this action, but stay tuned for future updates. Meanwhile, if you are not familiar with the process builder, you can contact your Salesforce admin for help.
When a lead is captured, it is funneled through a customizable “Check” that you can configure based on your requirements. For example, you can configure it to validate only the emails captured from web forms.
Once MassMailer verifies and validates a contact email, it is stored with the following information:
| Address | mmtp_provider |
|---|---|
| Status | First name |
| Sub status | Last name |
| Account (email ID without the domain) | Gender |
| Domain | City |
| did_you_mean | Region |
| domain_age_day | Zipcode |
| free_email | Country |
| mx_found | Processed_at |
| mx_record |
MassMailer stores two types of statuses for email verification:
| Status | Valid, invalid, catch-all, unknown, spamrap, abuse, do_not_mail |
|---|---|
| Sub-status | Antispam_system, grelisted, mail_server_temporary_error, forcible_disconnect, mail_server_did_not_respond, timeout_exceeded, failed_smtp_conection, mailbox_quota_exceeded, exception_occurred, possible_traps, role_based, global_suppression, mailbox_not_found, no_dns_entries, failed_syntax_check, possible_typo,_unroutable_ip_address, leading_period_removed, does_not_accept_mail, alias_address, role_based_catch_all, disposable, toxic |
How to Auto-Validate Emails via MassMailer
Follow the simple steps below to get started:
- Log in to your Salesforce and navigate to the Process Builder interface. For demonstration purposes, the verification process flow has already been created. Here, when you click on “Lead,” you will see customization options to the right. You can choose when the verification process is initiated for that lead.

- Upon selection, you must also specify new criteria for set conditions that would validate a lead. For example, specify a field (like last name), an operator, type, and value. You can add more criteria depending on your requirements. Once done, click on “Save”.
- Click on “Check” and customize the “Call Apex” section according to your requirements.

- Once you are done customizing the process, click on “Activate” on the top right corner.
- Next, go to Salesforce home and navigate to the “Leads” tab.

- Create a new lead by clicking on “New” in the menu bar of that tab. Fill in all the details such as first name, last name, company, title, email, etc.
- Scroll down in the same pop-up window to the “Additional Information” section and select the “Lead Source” (for example, web, word of mouth, etc.) from its dropdown menu. Once you are done, click on “Save.”

- In the interface that opens, you will notice that your new lead is created and a verified job is submitted in the right sidebar.
- Refresh the page. Click on the URL in the “MassMailer Verification Jobs.”

- The new page will display parameters like “Job status”, “Campaign”, etc. Click on the new lead you created under the “Lead” field.
- Scroll down in the right sidebar to the “MassMailer Verify Status” section. You can see the status and sub-status of your new lead.

If you wish to conduct a quick auto-verification test on a valid email address, follow the steps below:
- Go to the “Leads” tab in the MassMailer Lightning console.
- Click on “New” and fill in all the information for a test email ID that you know exists and is working.

- Scroll down to select “Web” as the lead source in the popup window, then click “Save.”

- Refresh the page. You can see that the verification job for this new lead is also been created.
- Scroll down in the right sidebar and click on “MassMailer Verify Status.”

- In the new window that opens, you will see that this test email’s status is “Valid.”

- Go back to the Lead page and click on the verification job object. Click on the lead you have verified.
- The new window displays all the details of the new lead you just verified. It also shows the “Total Billable Count,” which tells you how many more emails you can auto-verify via MassMailer before your credits run out. If you require more credits, you can purchase the most suitable package.

- Once you are done checking the verification process, you can also view reports for the same. Navigate to the tabs bar and click on “More.” Select “Reports” from the dropdown menu.
- In the search bar of the tab, type “Verify.” In the results, you will see all the MassMailer verification status reports.

- In the new interface that opens, type “Verify” again to search for verification-specific reports.
- The report may take a few seconds to load completely. Once it does, it will show parameters such as the number of records, the total number of free emails, the status, the sub-status, the contact, and the account.

- If you want to see the suppressions, navigate to the tabs bar and click on “More.” Then click on “MassMailer Suppressions List” from the dropdown menu.

- The new window will display all the records that have been automatically suppressed by MassMailer. Click on any record to view details.

- To view the API names, navigate to Salesforce Setup and click on the “Object Manager” tab.
- In the “Quick Find” box, type “Lead.” In the left sidebar, click on “Fields and Relationships.”

- In the list that appears, the field label “Email” is called the API name. Under the “Field Name” column, you will find the API name of a lead. If you want to validate this, copy it from here and go back to Process Builder.

- In the Process Builder, click “Check” and navigate to the right sidebar. Scroll to the “Set Apex Variables” section and paste the copied value after adding a comma to the “Value” field. Click on “Save.” Don’t forget to activate the process once you are done.
Note: You can only verify the API names if their data type is “Email.”
MassMailer is a Salesforce-native email app that allows you to customize your bulk email and workflows in a few simple steps. Validate every email effortlessly with MassMailer’s friendly UI and simple process builder to customize how verification initiates.
MassMailer also allows you to verify and validate email addresses from various other points in the UI, including campaigns, lists, and more.
Using MassMailer, you can easily remove spam traps, verify emails, monitor your email reputation, and more. Visit the website today to get started on your 15-day free trial.
FAQs
1. What does it mean when an email bounces in Salesforce?
An email bounce in Salesforce means the message could not be delivered to the recipient’s server. Depending on the cause, it may be classified as a soft bounce (temporary issue), a hard bounce (permanent failure), or a block bounce (reputation/authentication issue).
2. How do I enable bounce management in Salesforce?
To enable Salesforce email bounce management, go to Setup → Email → Deliverability and check Activate Bounce Management. For more visibility, enable Return Bounced Emails to Sender, which logs bounce details and makes them available on records.
3. Where can I see bounced emails in Salesforce?
Bounced email details appear as visual indicators on Leads, Contacts, and Person Accounts. Additionally, fields like EmailBouncedReason and EmailBouncedDate can be included in Salesforce reports and dashboards to track bounce trends.
4. What’s the difference between soft bounce and hard bounce in Salesforce?
- Soft Bounce: A temporary delivery failure, such as a full inbox or unavailable server. Salesforce retries sending the email.
- Hard Bounce: A permanent delivery failure due to invalid addresses, non-existent domains, or blocks. These emails won’t be delivered again.
5. How do I reduce email bounce rates in Salesforce?
To reduce bounce rates:
- Improve authentication with SPF, DKIM, and DMARC.
- Regularly clean and validate email lists.
- Use email verification tools at data entry points.
- Maintain a strong sender reputation by monitoring engagement and avoiding spammy practices.
6. Why is email verification important in Salesforce?
Email verification prevents invalid, fake, or risky addresses from entering Salesforce. This reduces hard bounces, protects sender reputation, and ensures campaigns reach real, engaged recipients.
Related Blogs
About the Author

Siva Devaki 
Siva Devaki is the founder of MassMailer Inc., a tool that helps Salesforce users optimize email marketing. A passionate advocate for email marketing, Siva writes and hosts podcasts on the topic, sharing insights to help businesses drive revenue and enhance customer engagement through Salesforce email automation and tracking.